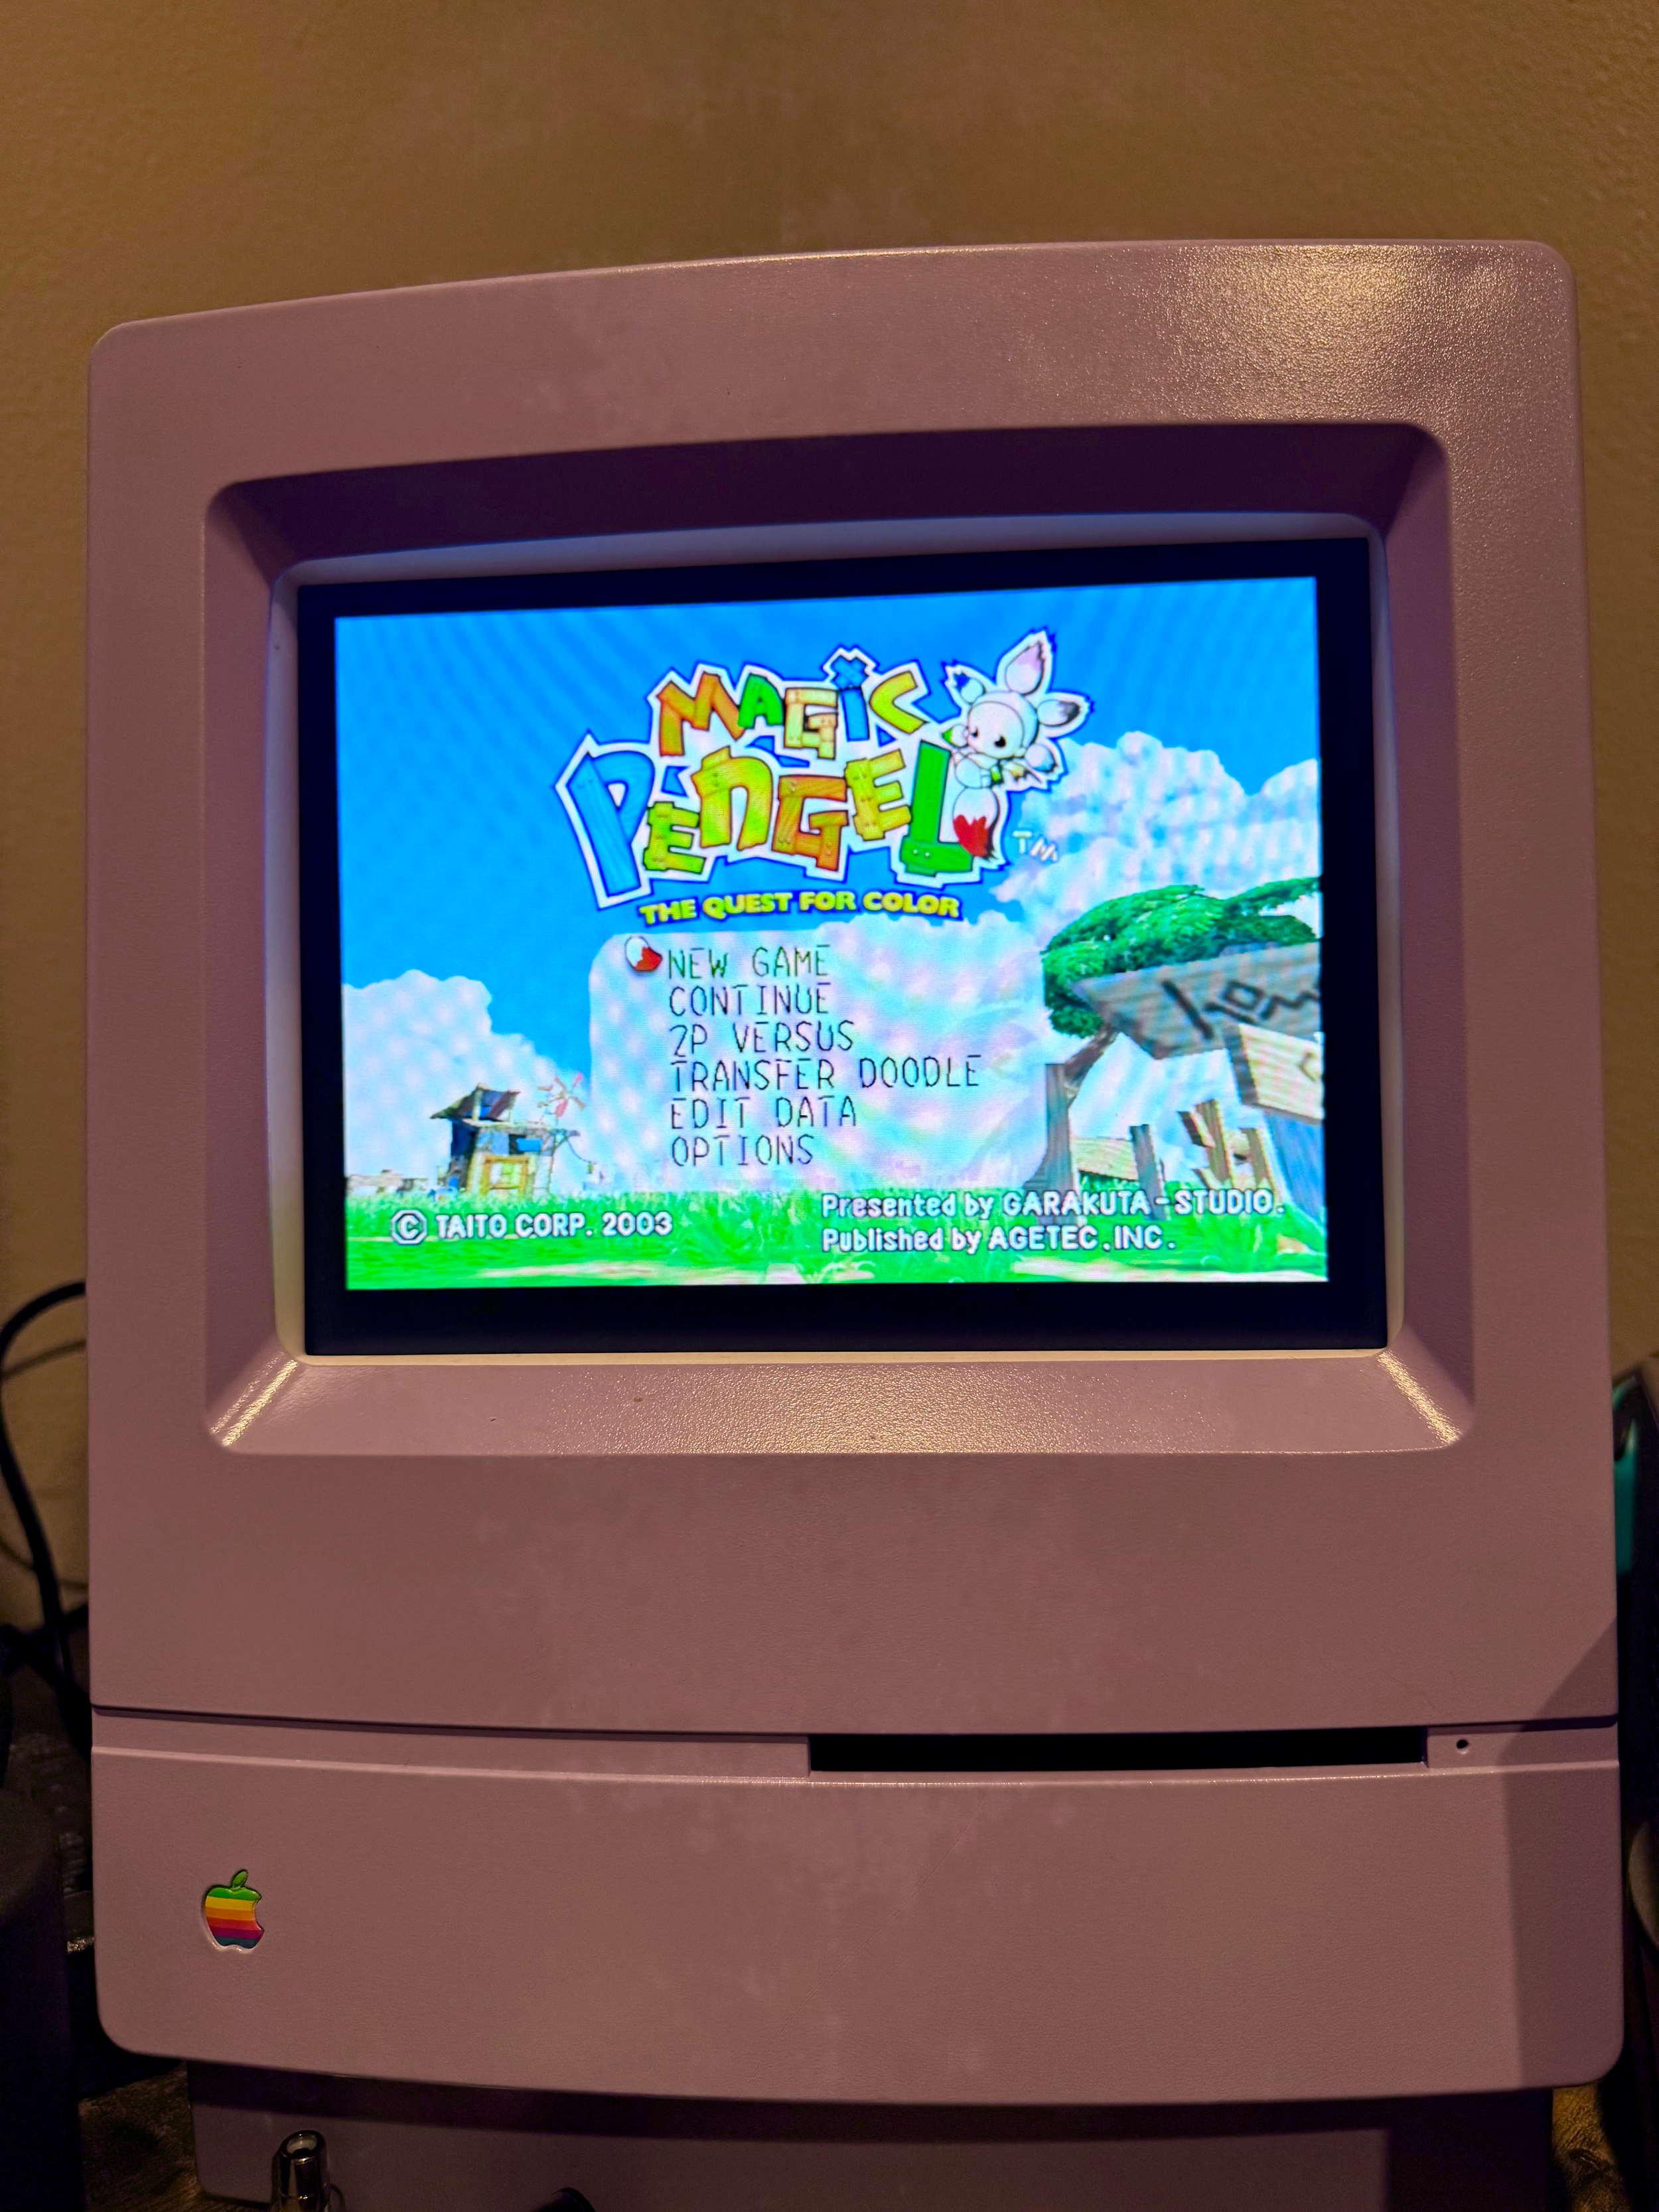
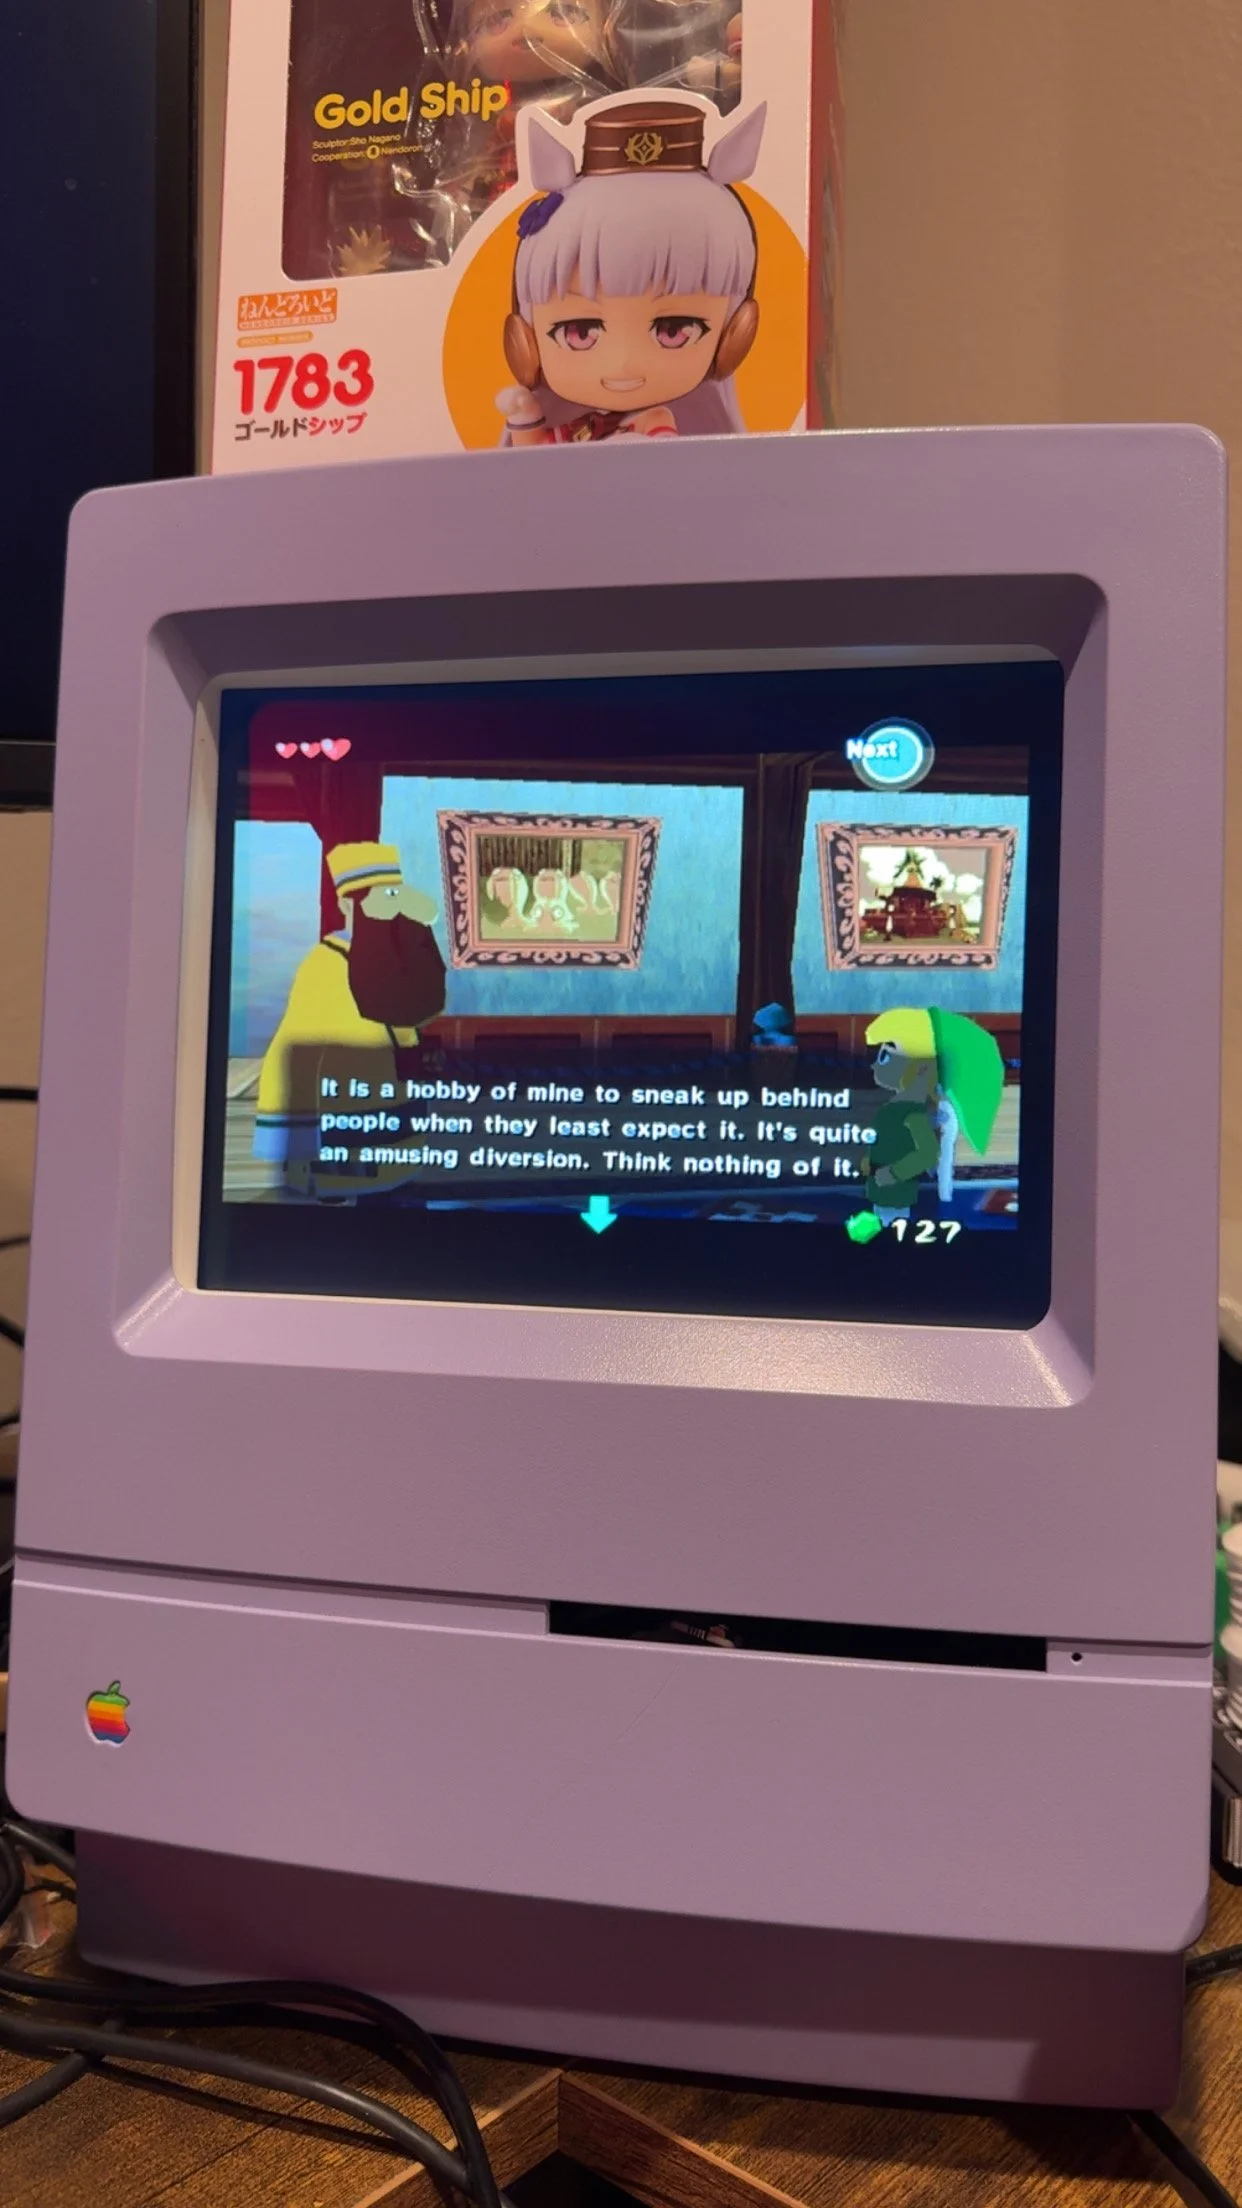
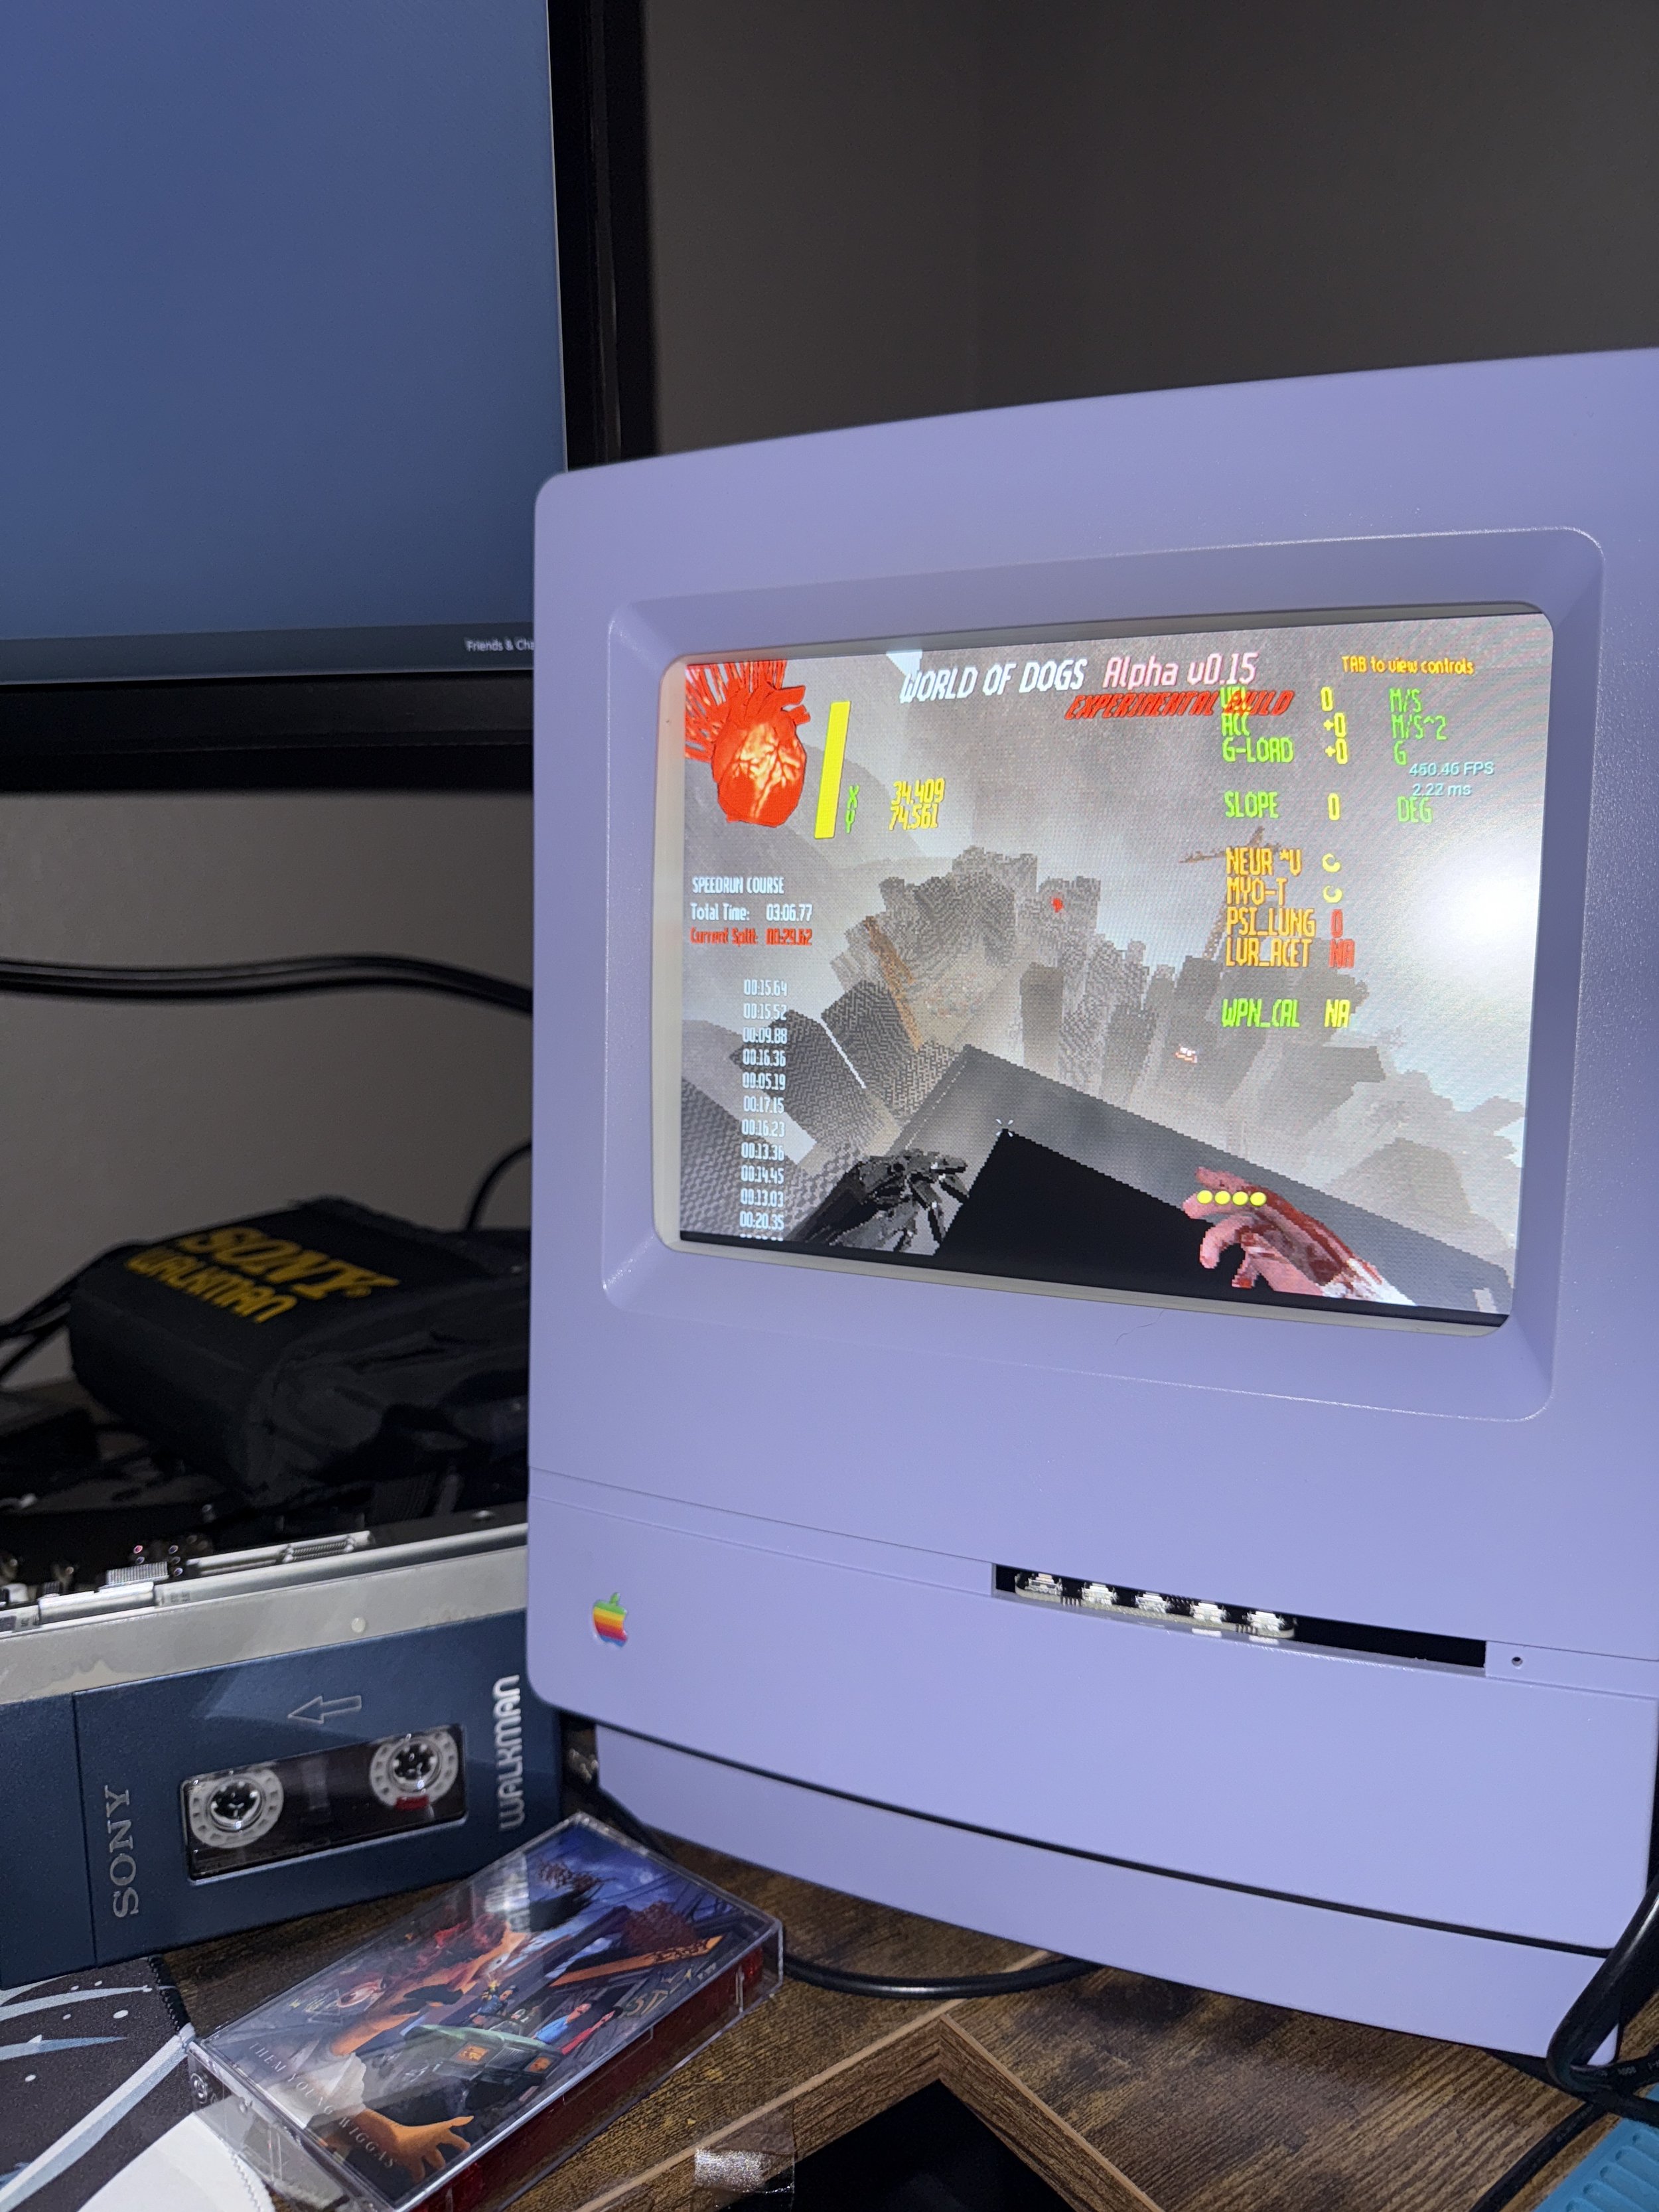
Lilacintosh Monitor
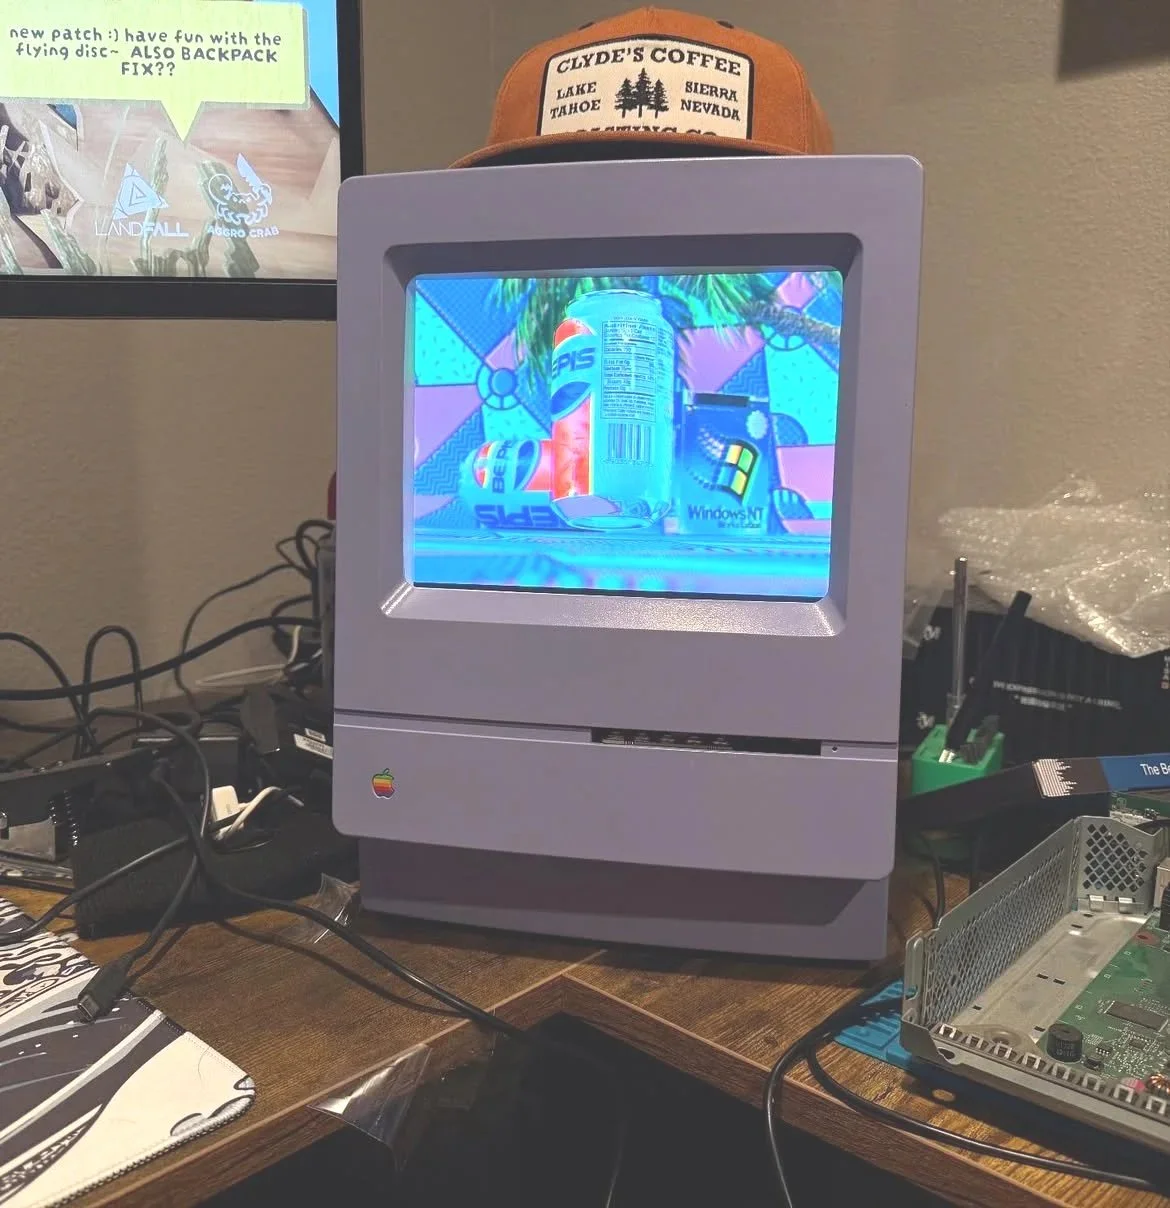
About a year ago I was lucky enough to get my hands on a mostly destroyed Mac Classic all-in-one PC which was originally retailed by Apple Computers in 1990 at a crisp $1,000 for a mere $50 After a few days of poking and prodding around the slightly scary interior I decided it was a lost cause, so I ripped the guts out and got to work on a way to upcycle the case.
I was surprised to find that the community for these units - and other similarly designed Apple PC’s - was massive, literal decades of tutorials and modifications from hobbyists like Macintosh Librarian and This Does Not Compute led me into a deep dive on what all I could do with my newly-gutted case, and while I enjoyed the content and the ideas presented to me, I really just wanted something that looked nice.
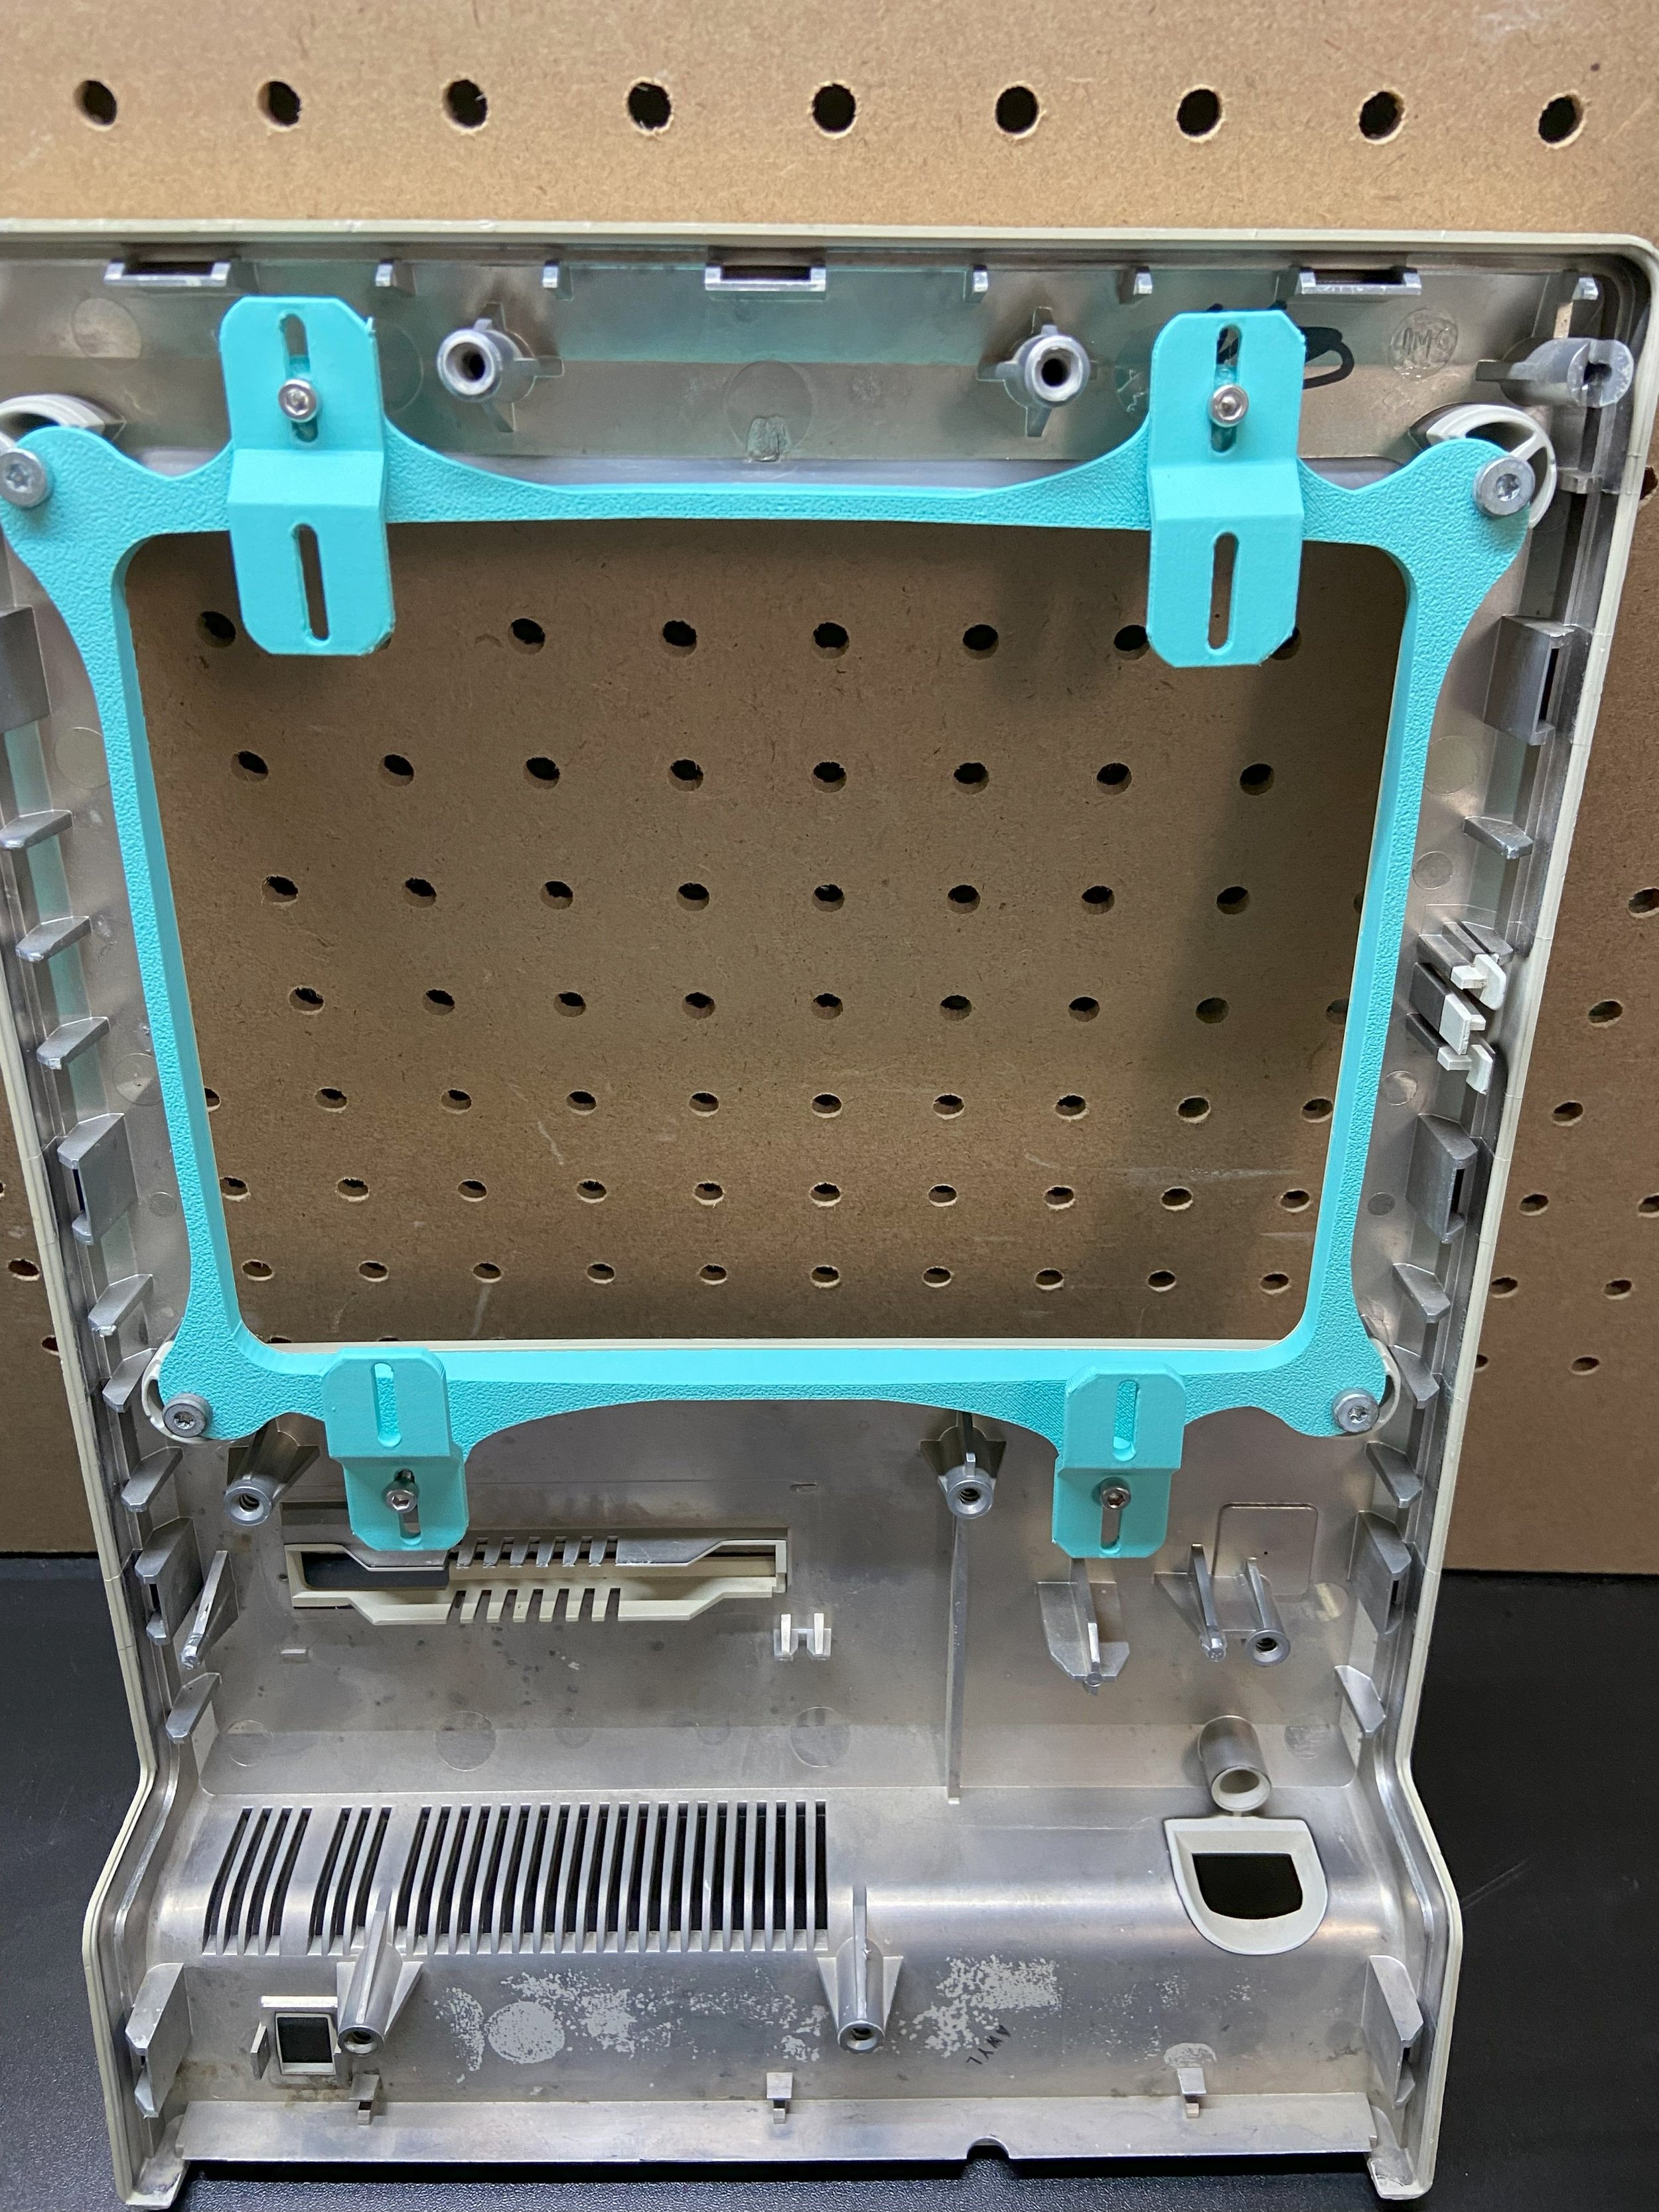
After some deliberation I landed on the idea of simply painting the case, slapping a modern LCD screen into the empty husk and using it as a third (yes, third) monitor for my computer set up, seeing as the 4:3 aspect ratio would be perfect for playing my older emulated games or watching tapes from my VCR. This led me to a neat Mac SE project by Retracast that he calls The Joshintosh, which included a set of 3D printed tabs designed by GeekyBit (blue image below) to hold a small LCD monitor inside of the original CRT housing, not pretty but very functional. The only thing I didn’t like about GeekyBit’s design was it used a full monitor with housing and all, not just a panel, luckily after a bit of searching I found hammer32’s revision of a LCD bezel made designed by panman_gr. on Thingiverse
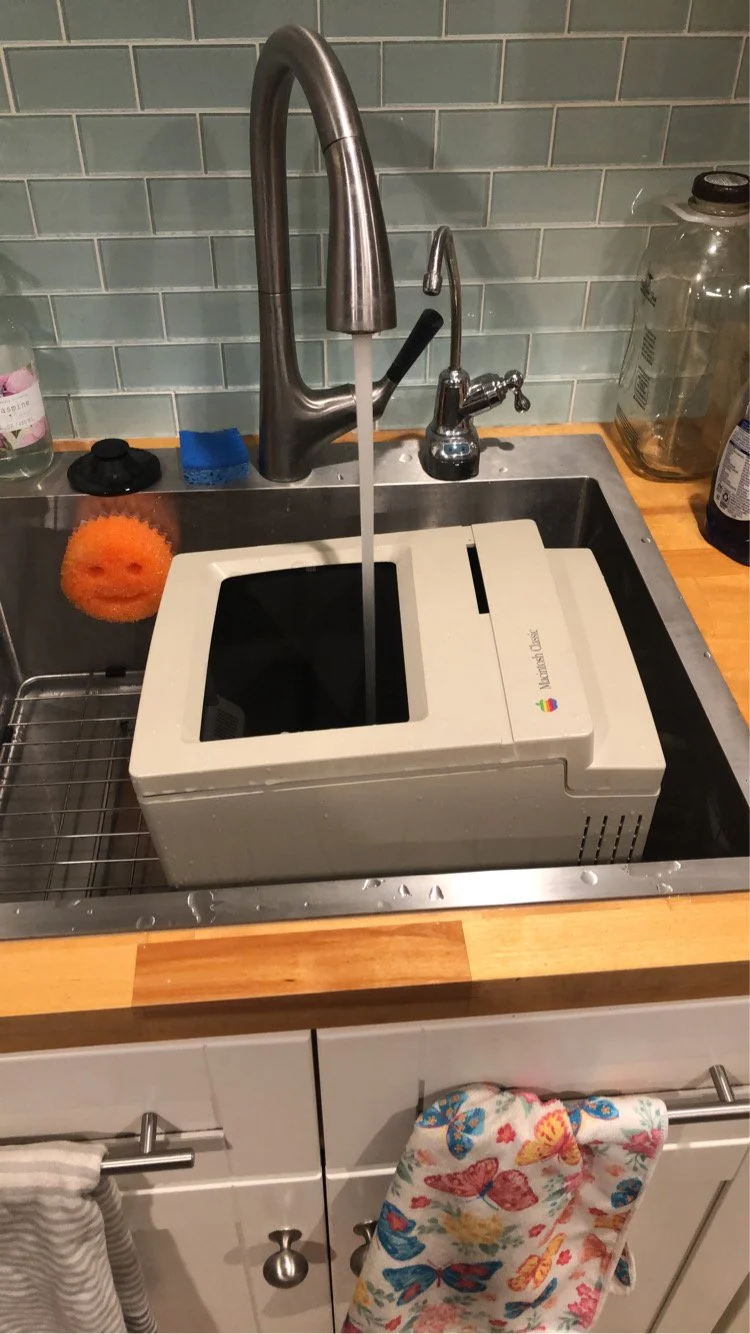
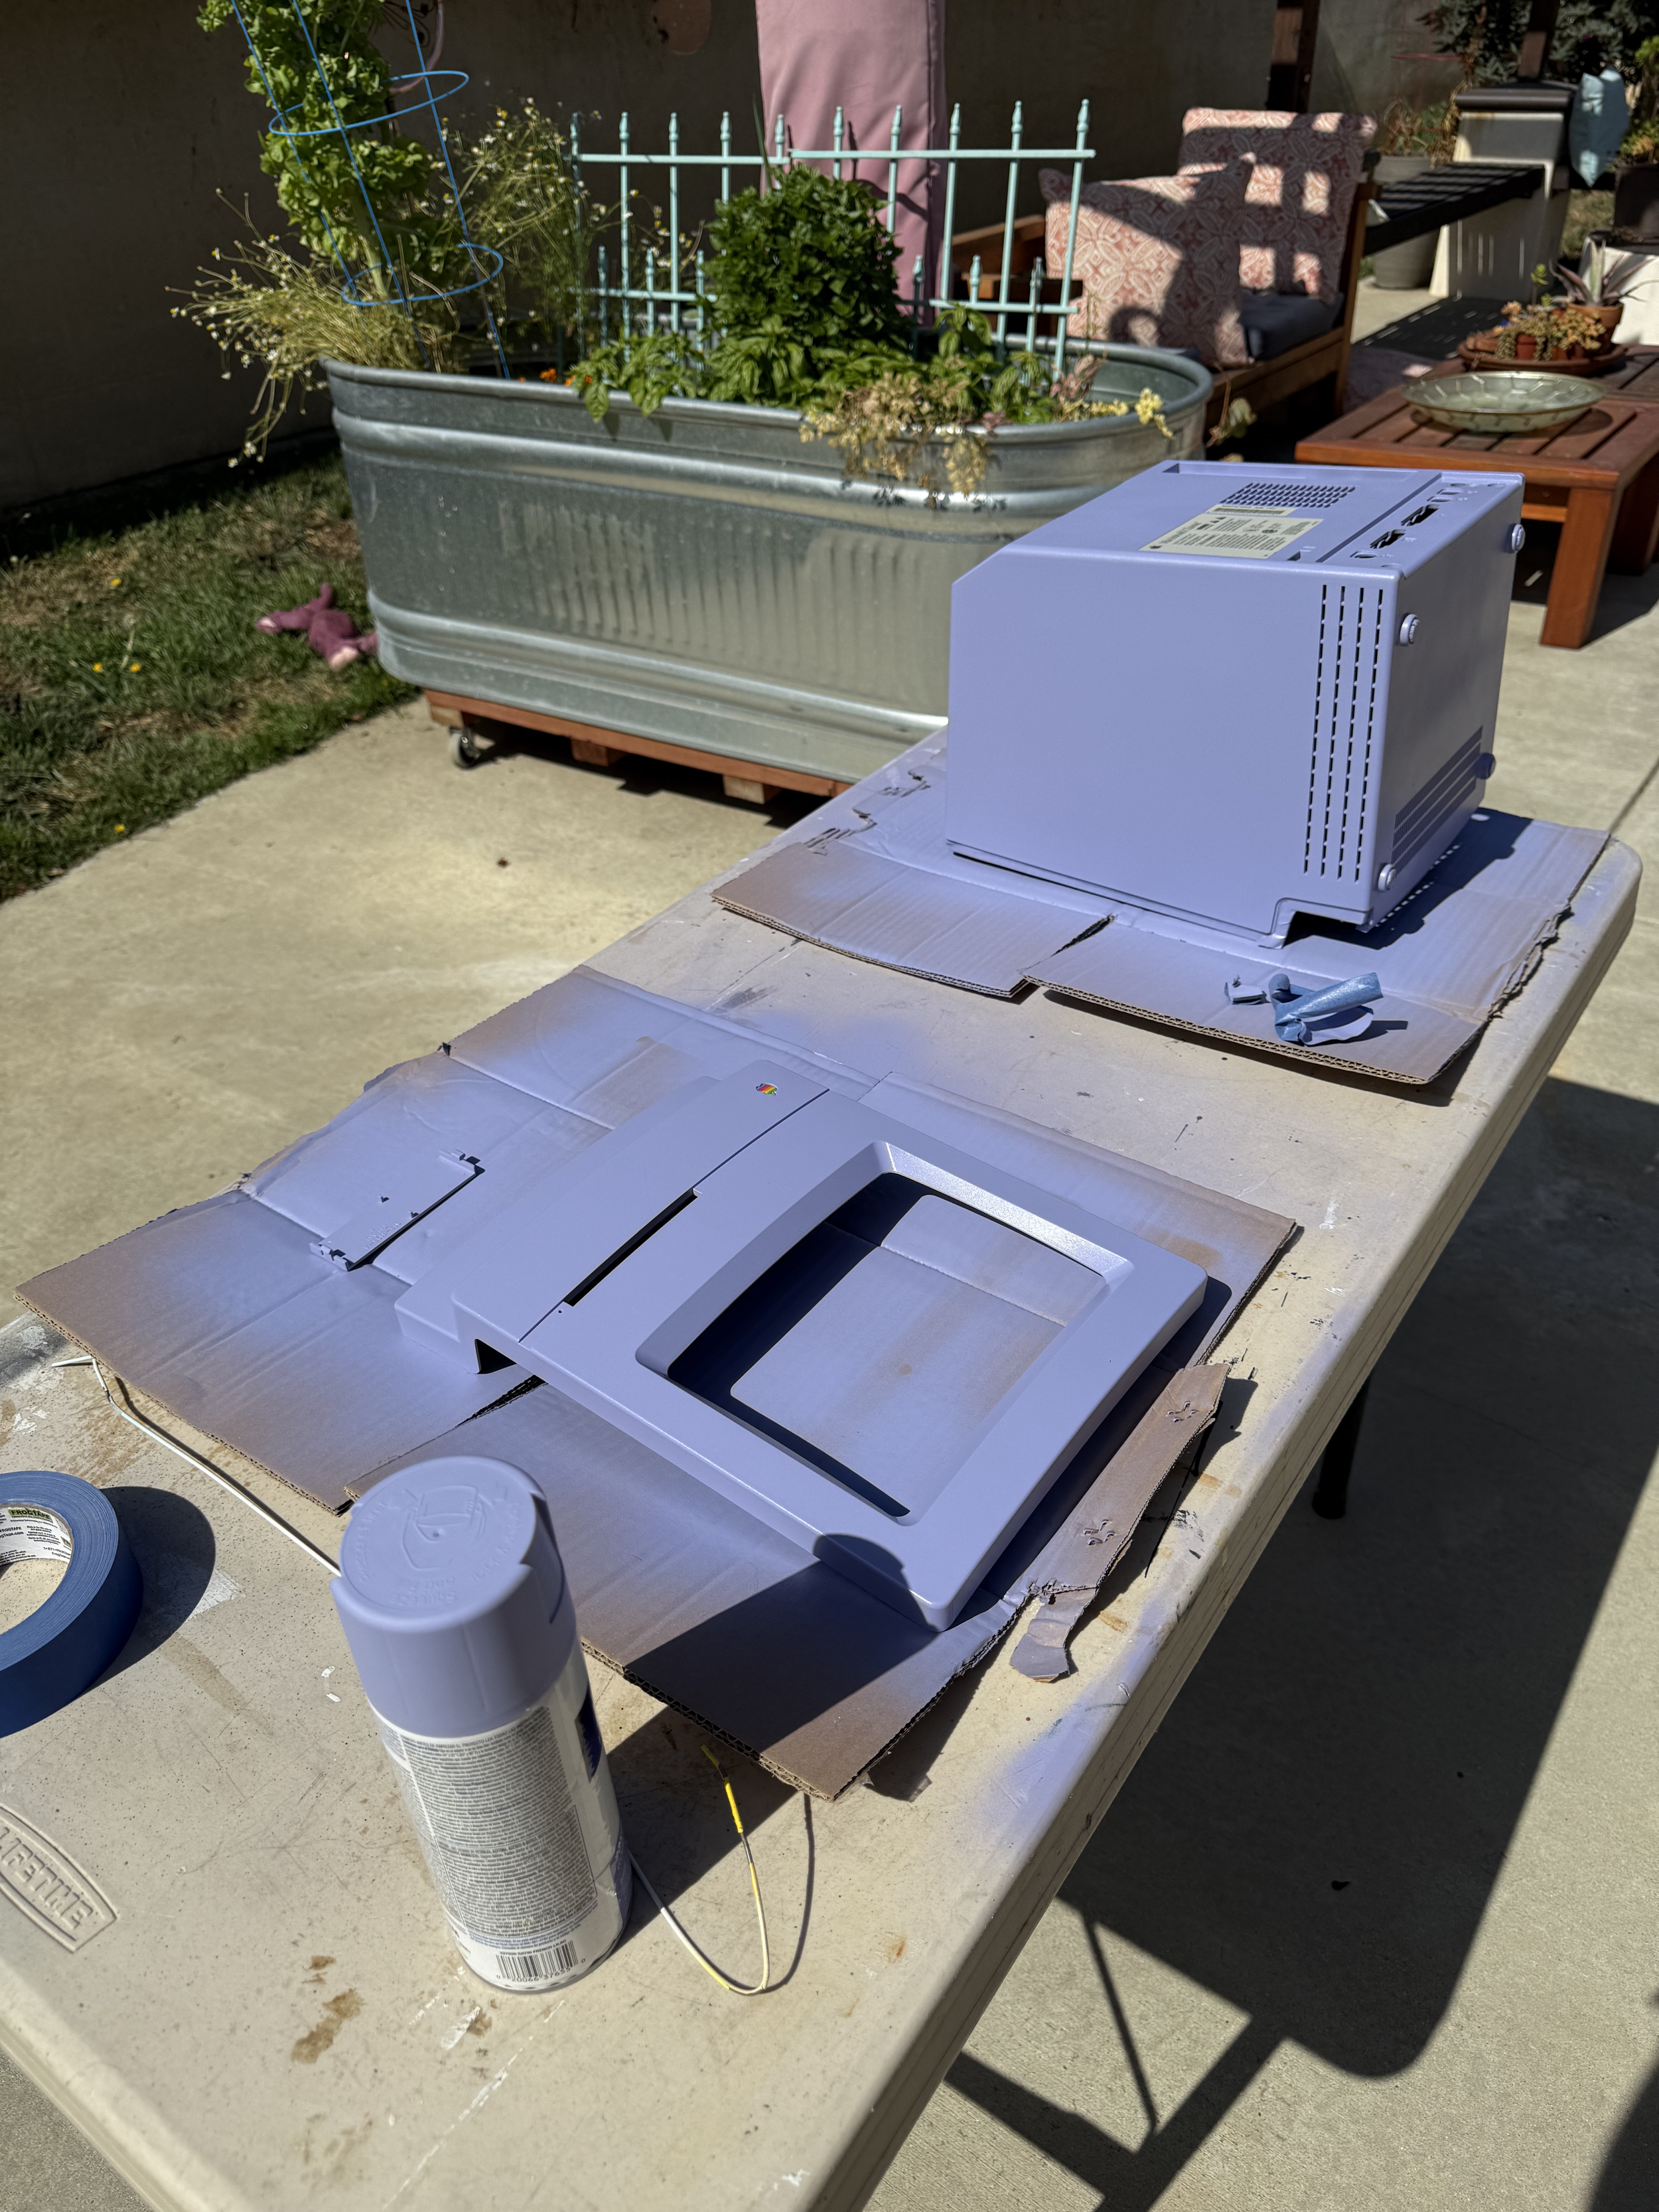
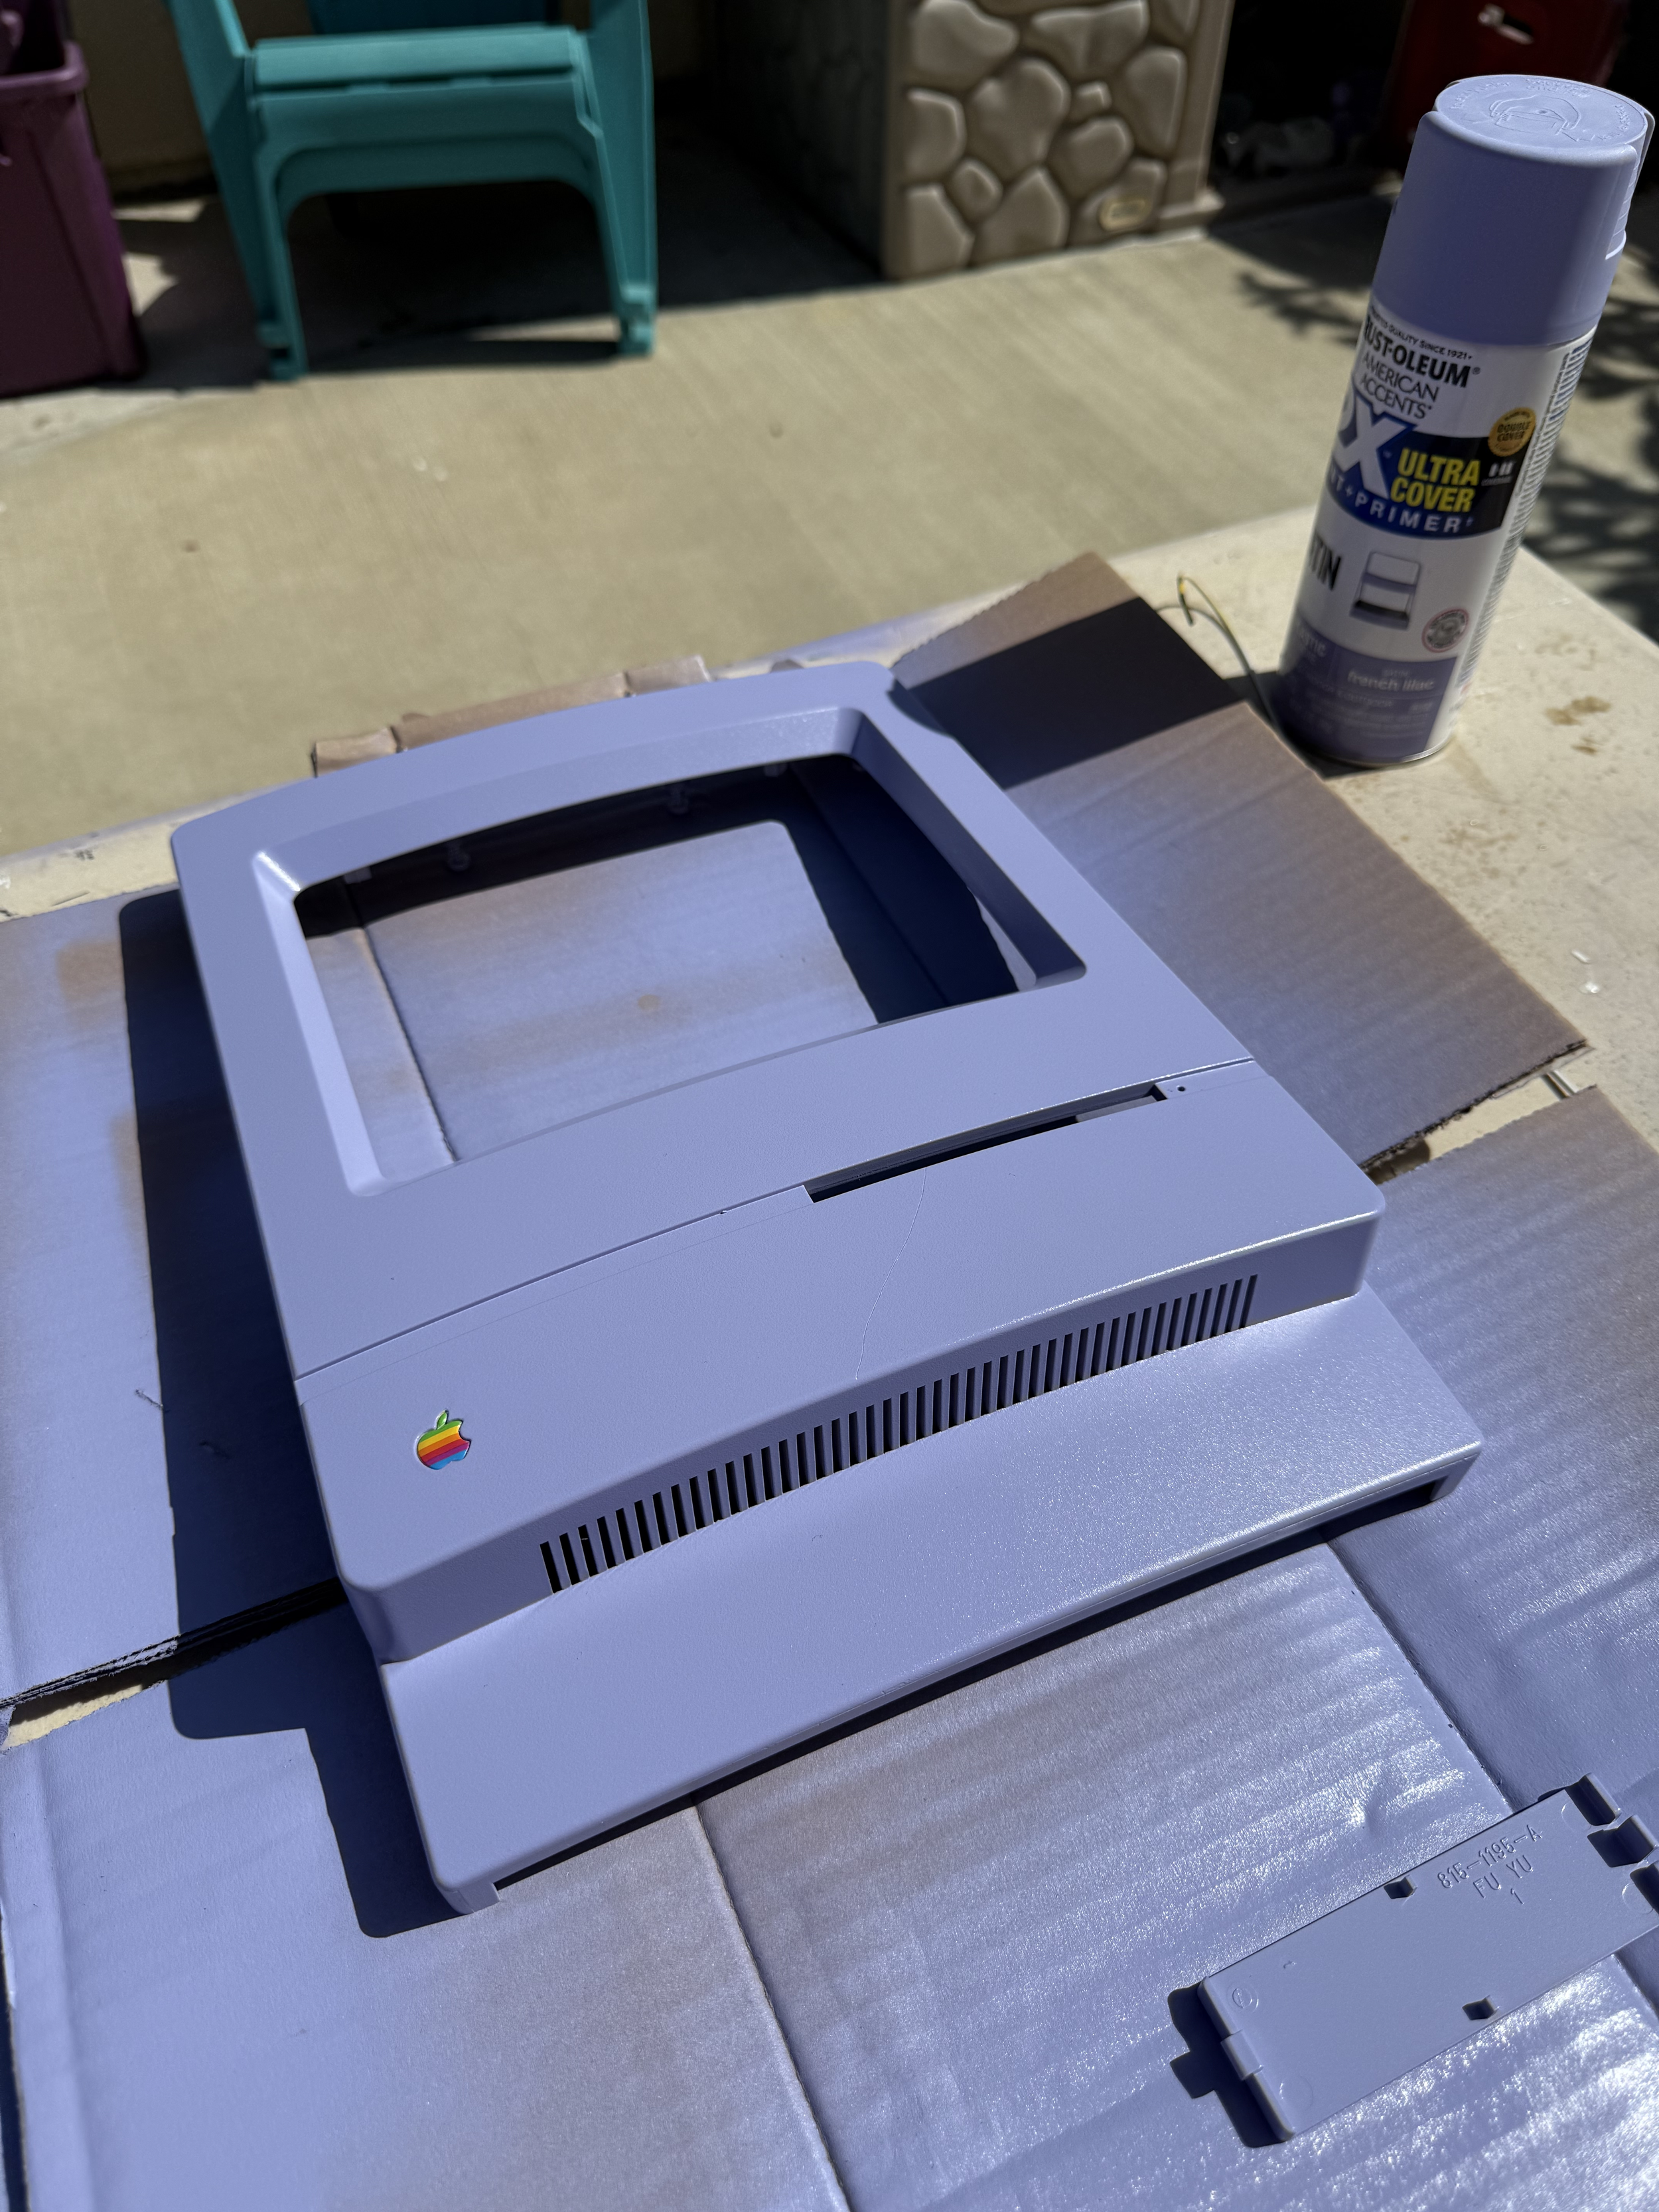
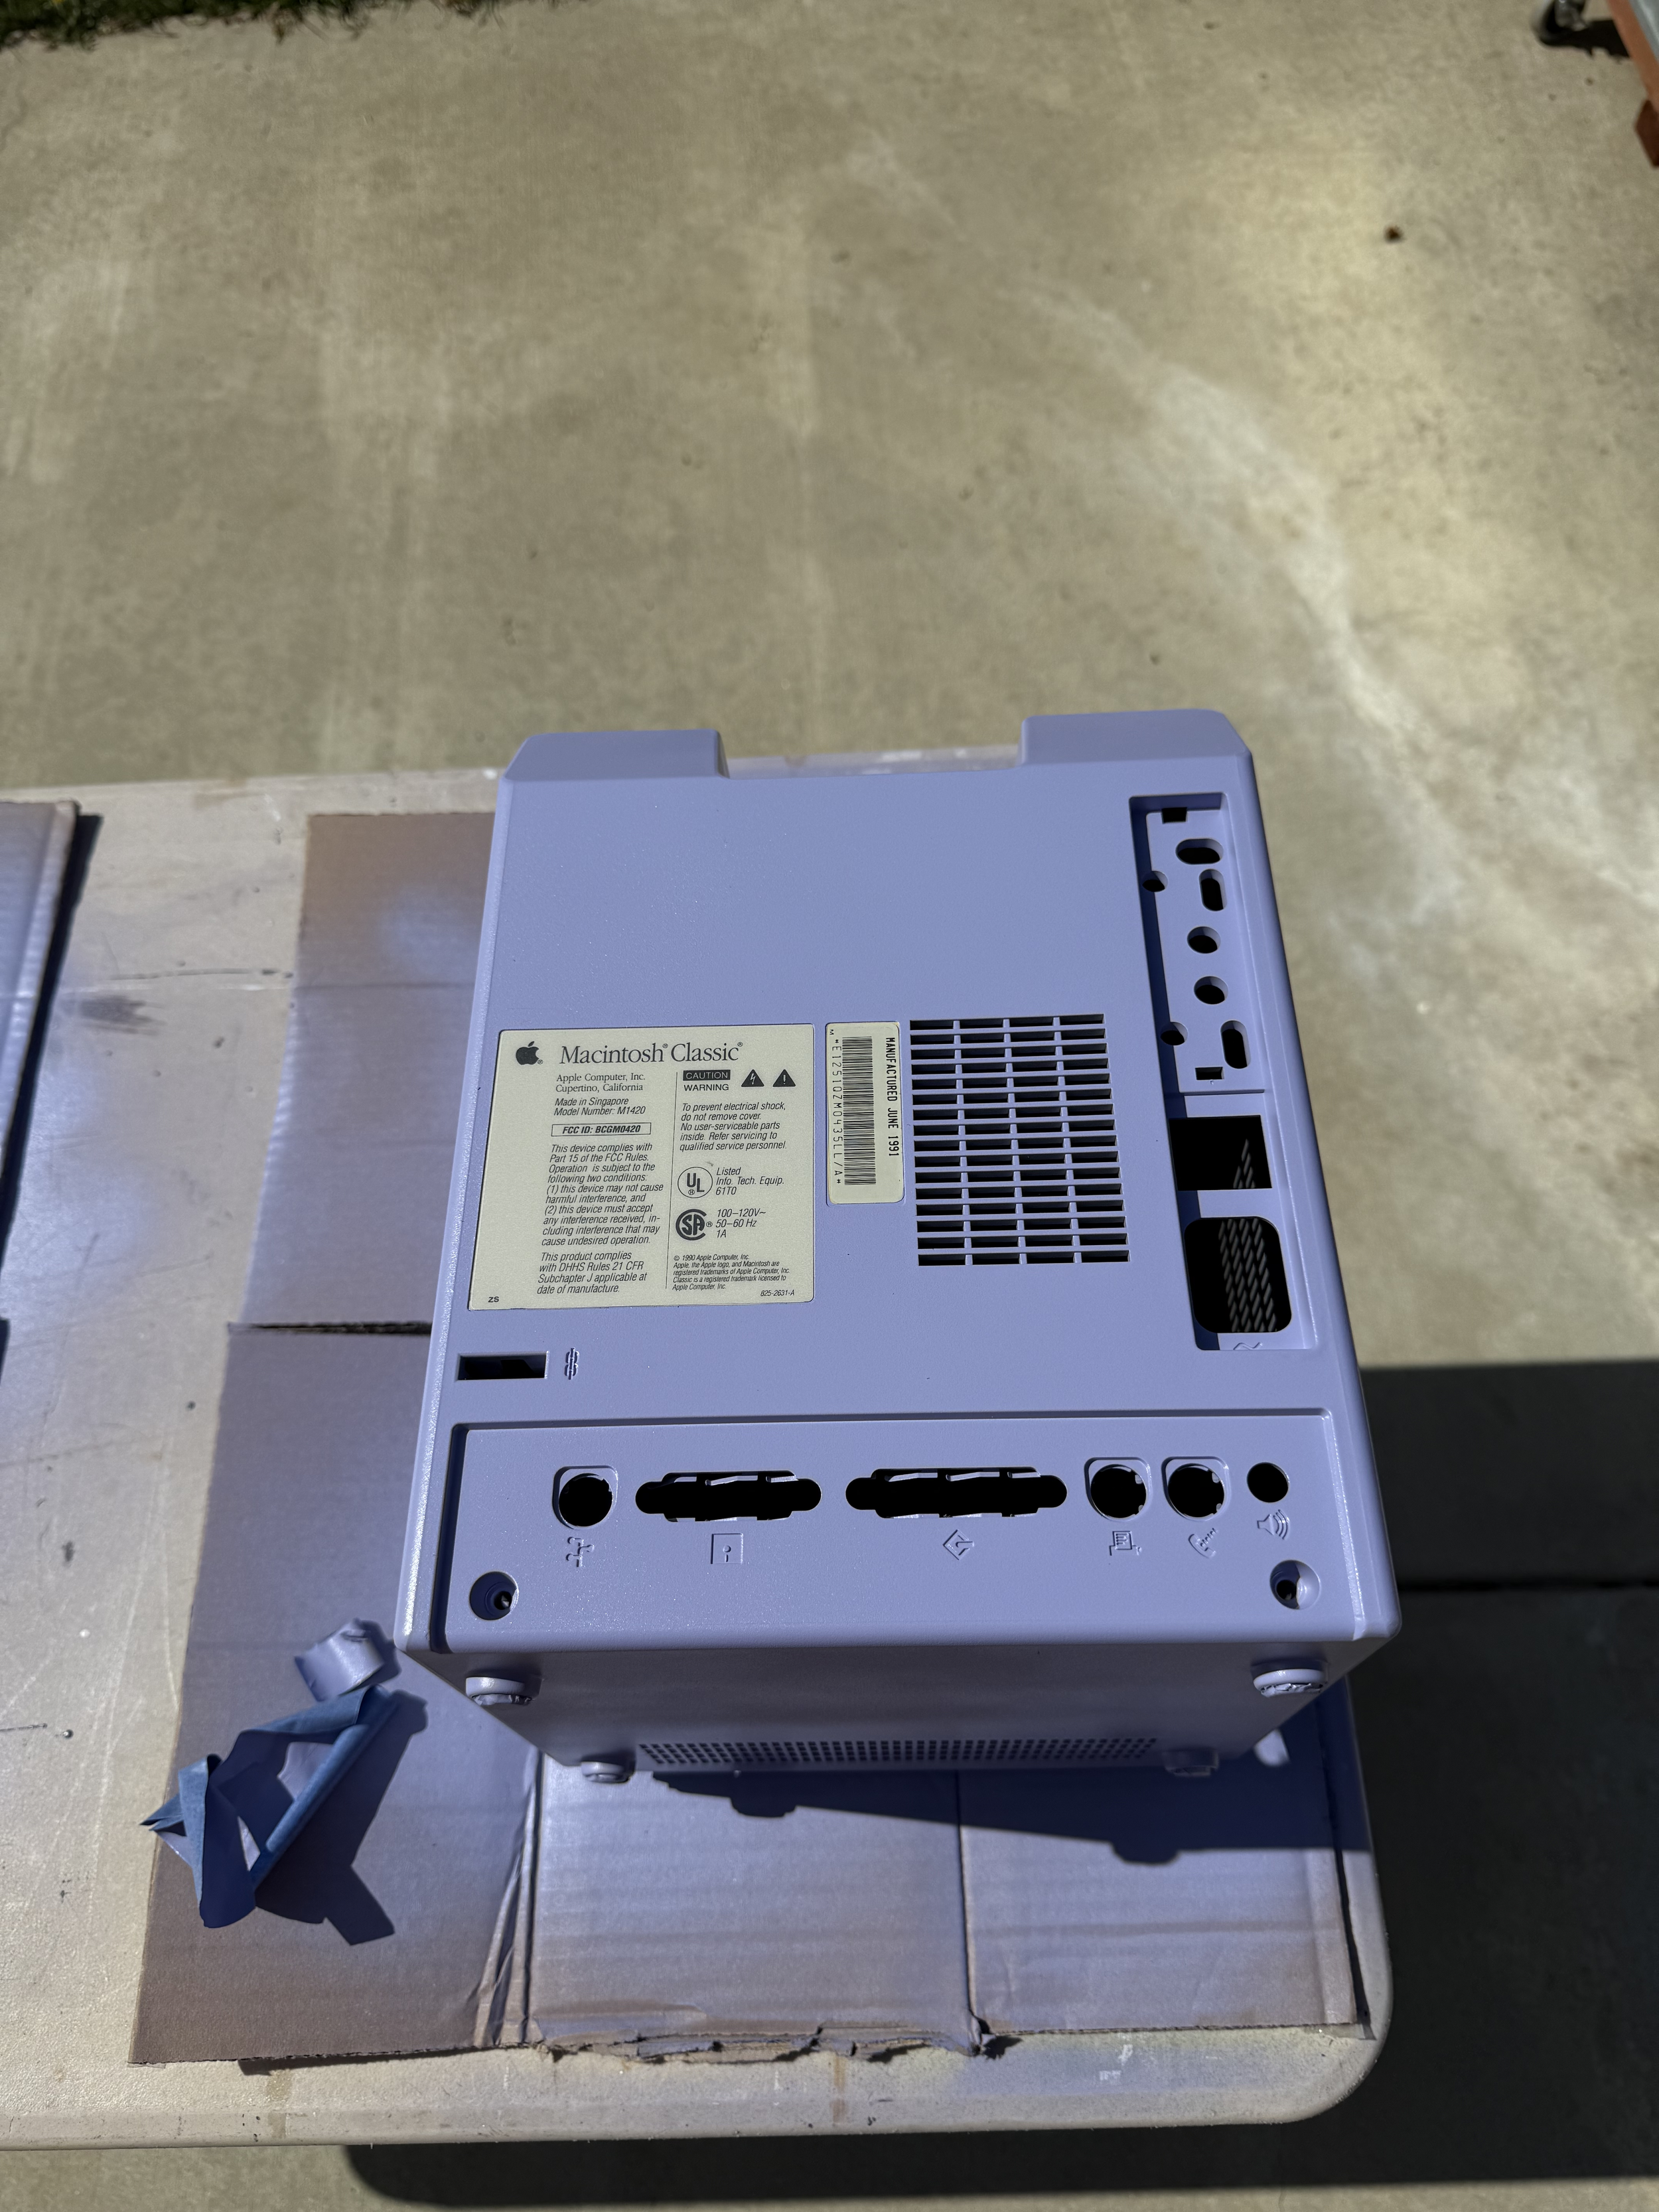
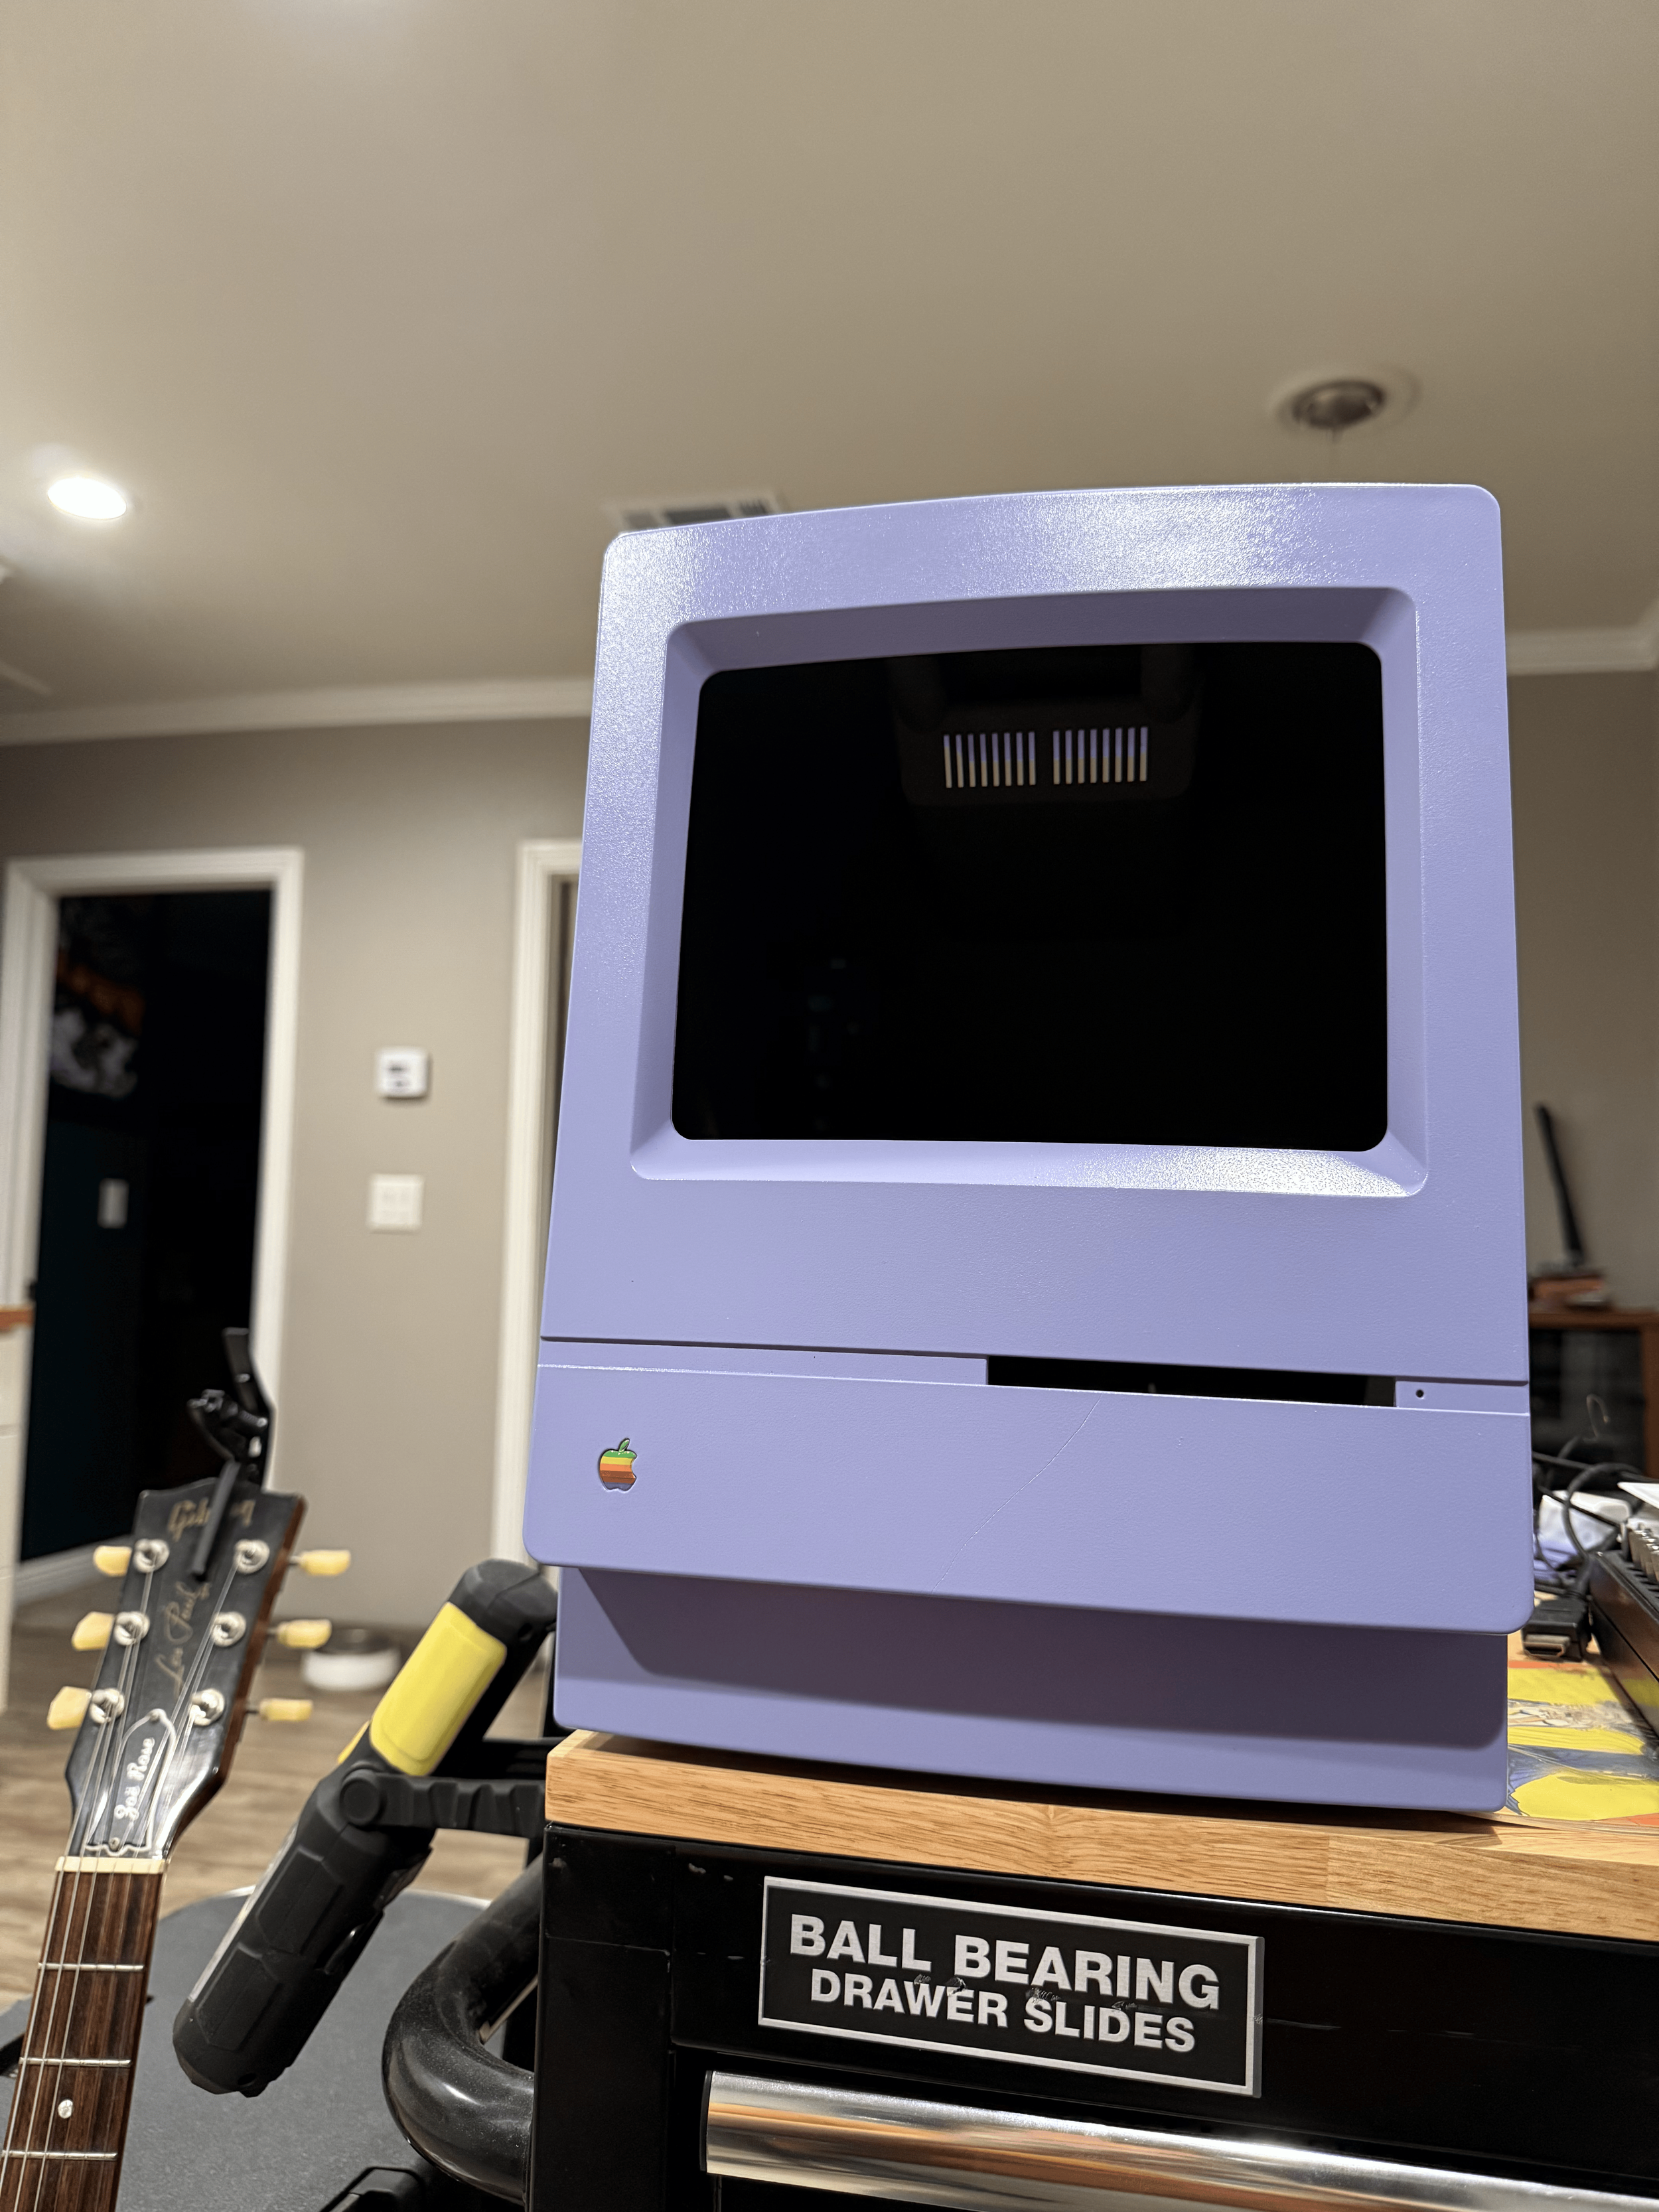
which allowed for the use of a 10” Pimoroni 4:3 LCD display. As soon as the bracket started printing I got to work washing the entire PC shell and prepping it for paint, I even managed to get some help masking off the original rainbow apple logo and model stickers on the rear housing. I used this spray paint from lowes and gave the case a few good coats, such fancy names for colors, unfortunately “Satin French Lilacintosh” doesn’t roll off the tongue so well. Damn, actually Lilacintosh is hard as hell, we’re going with that.
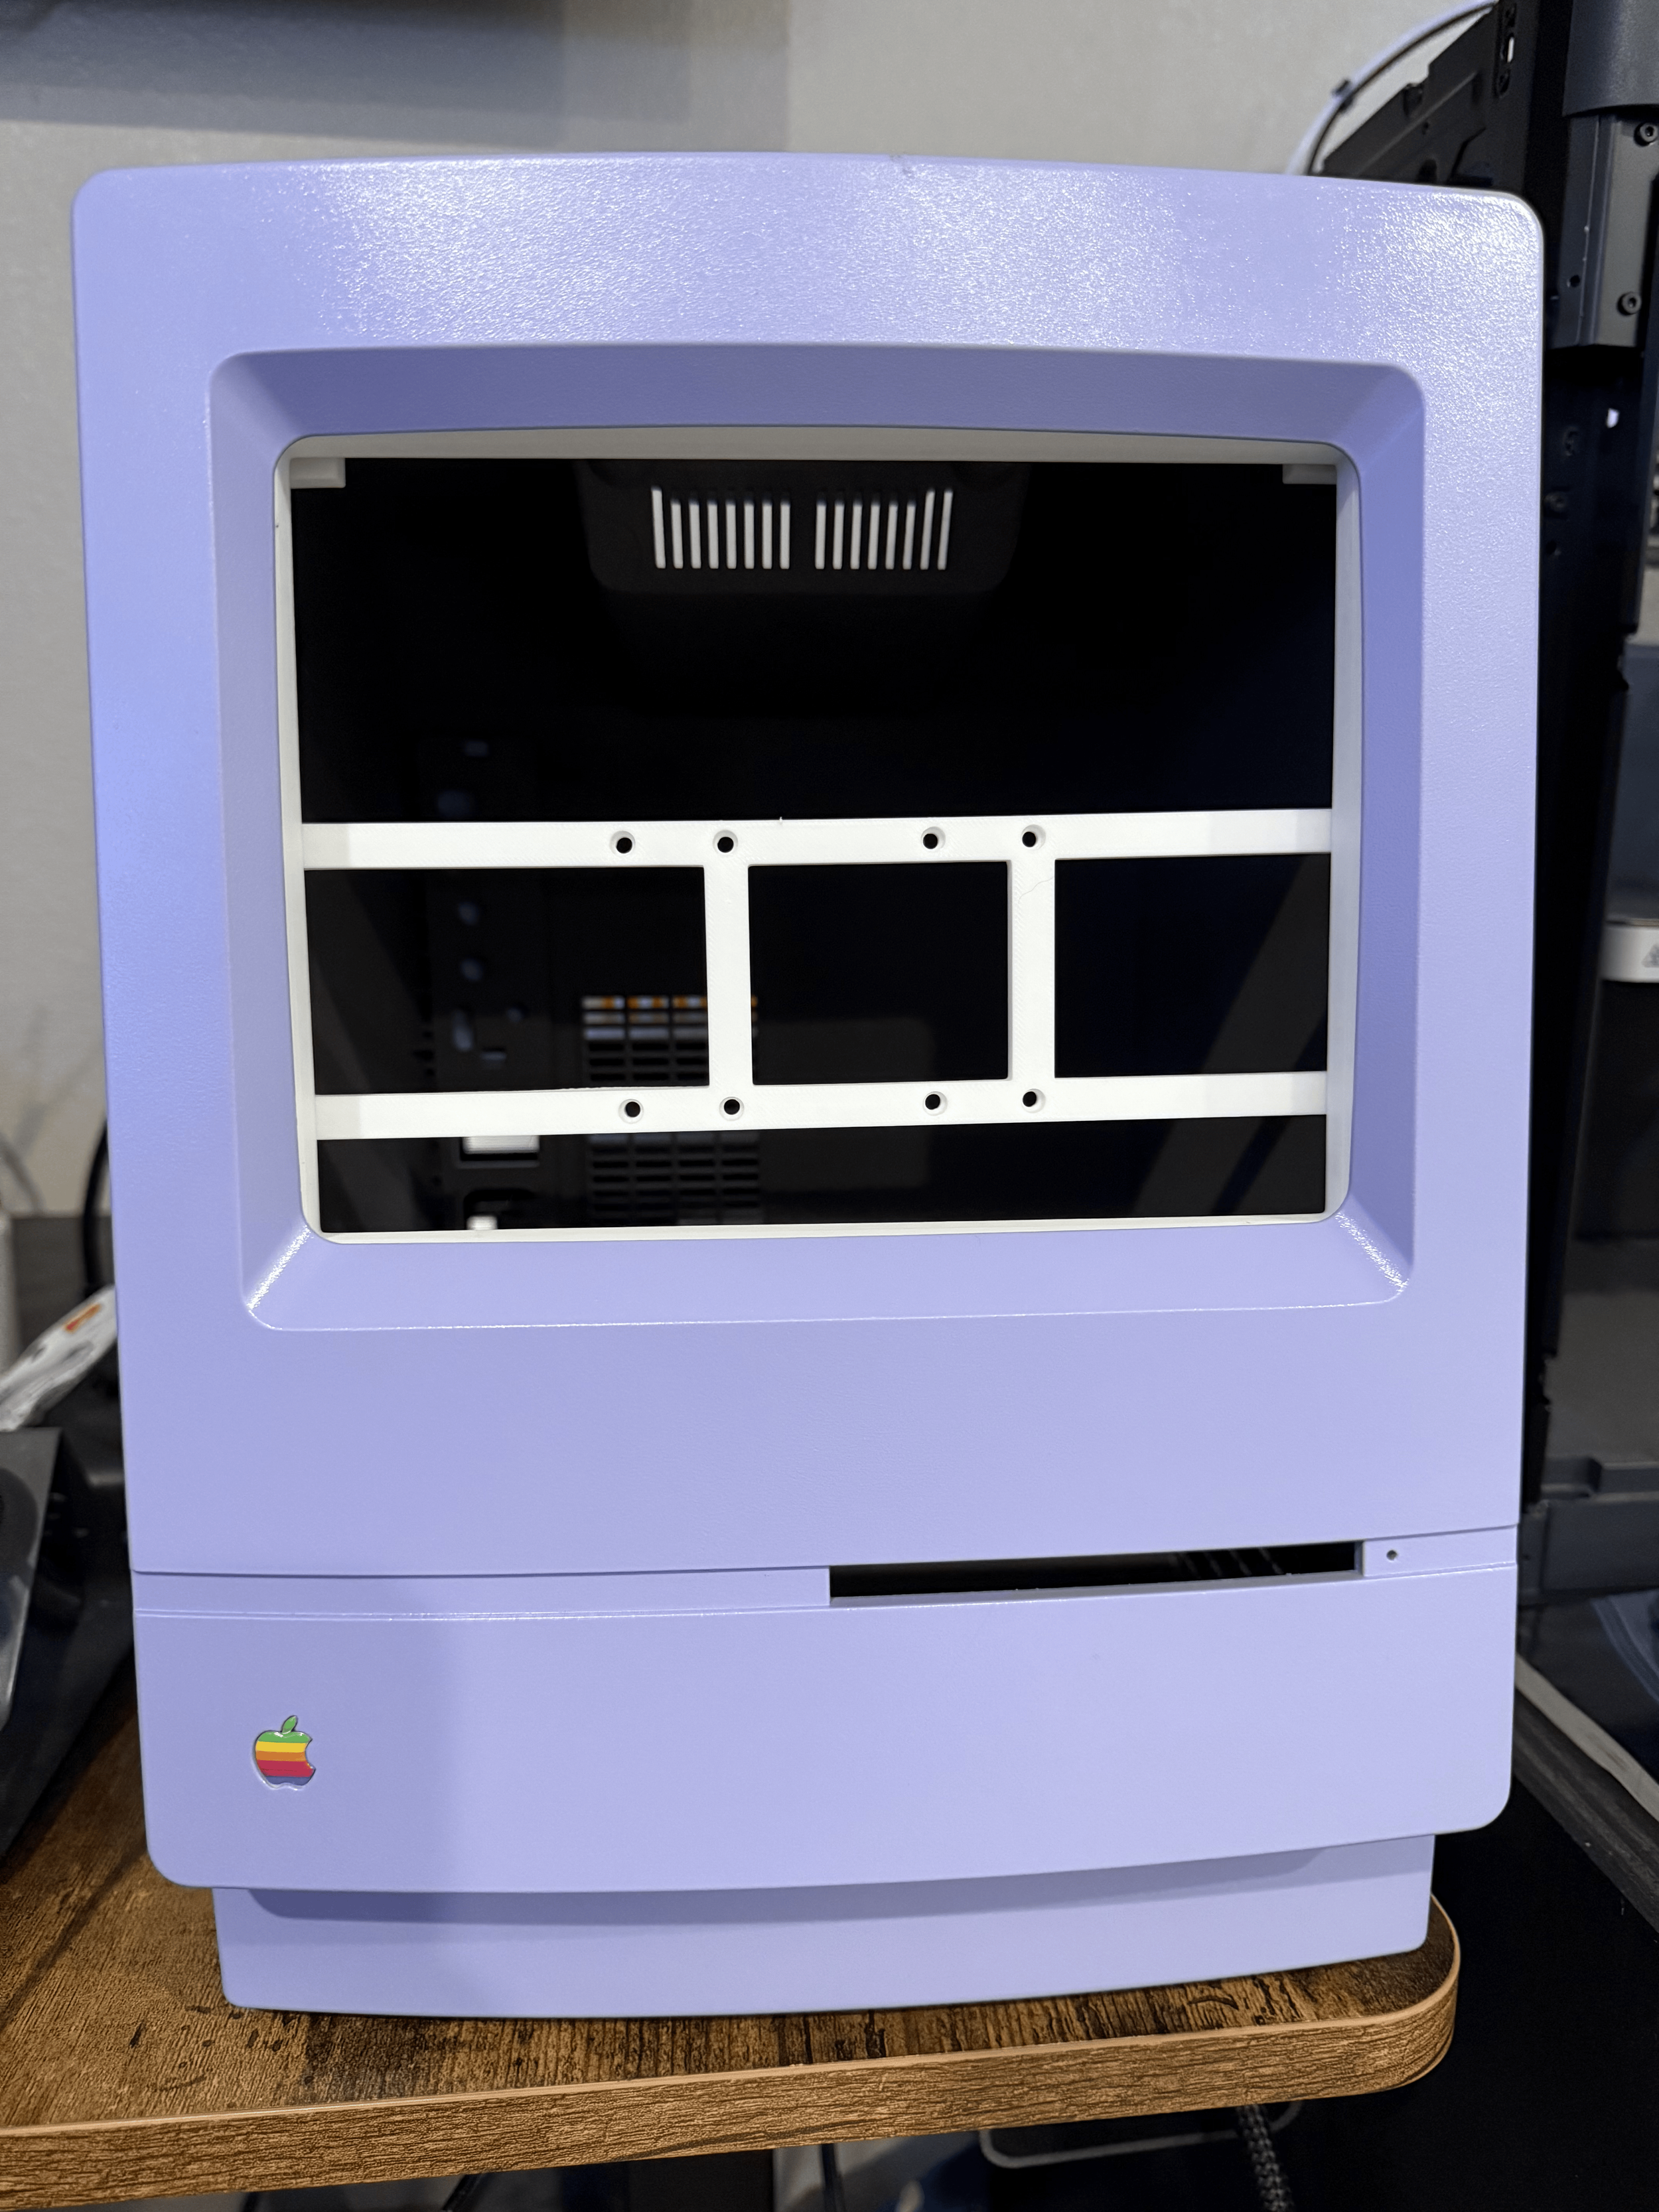
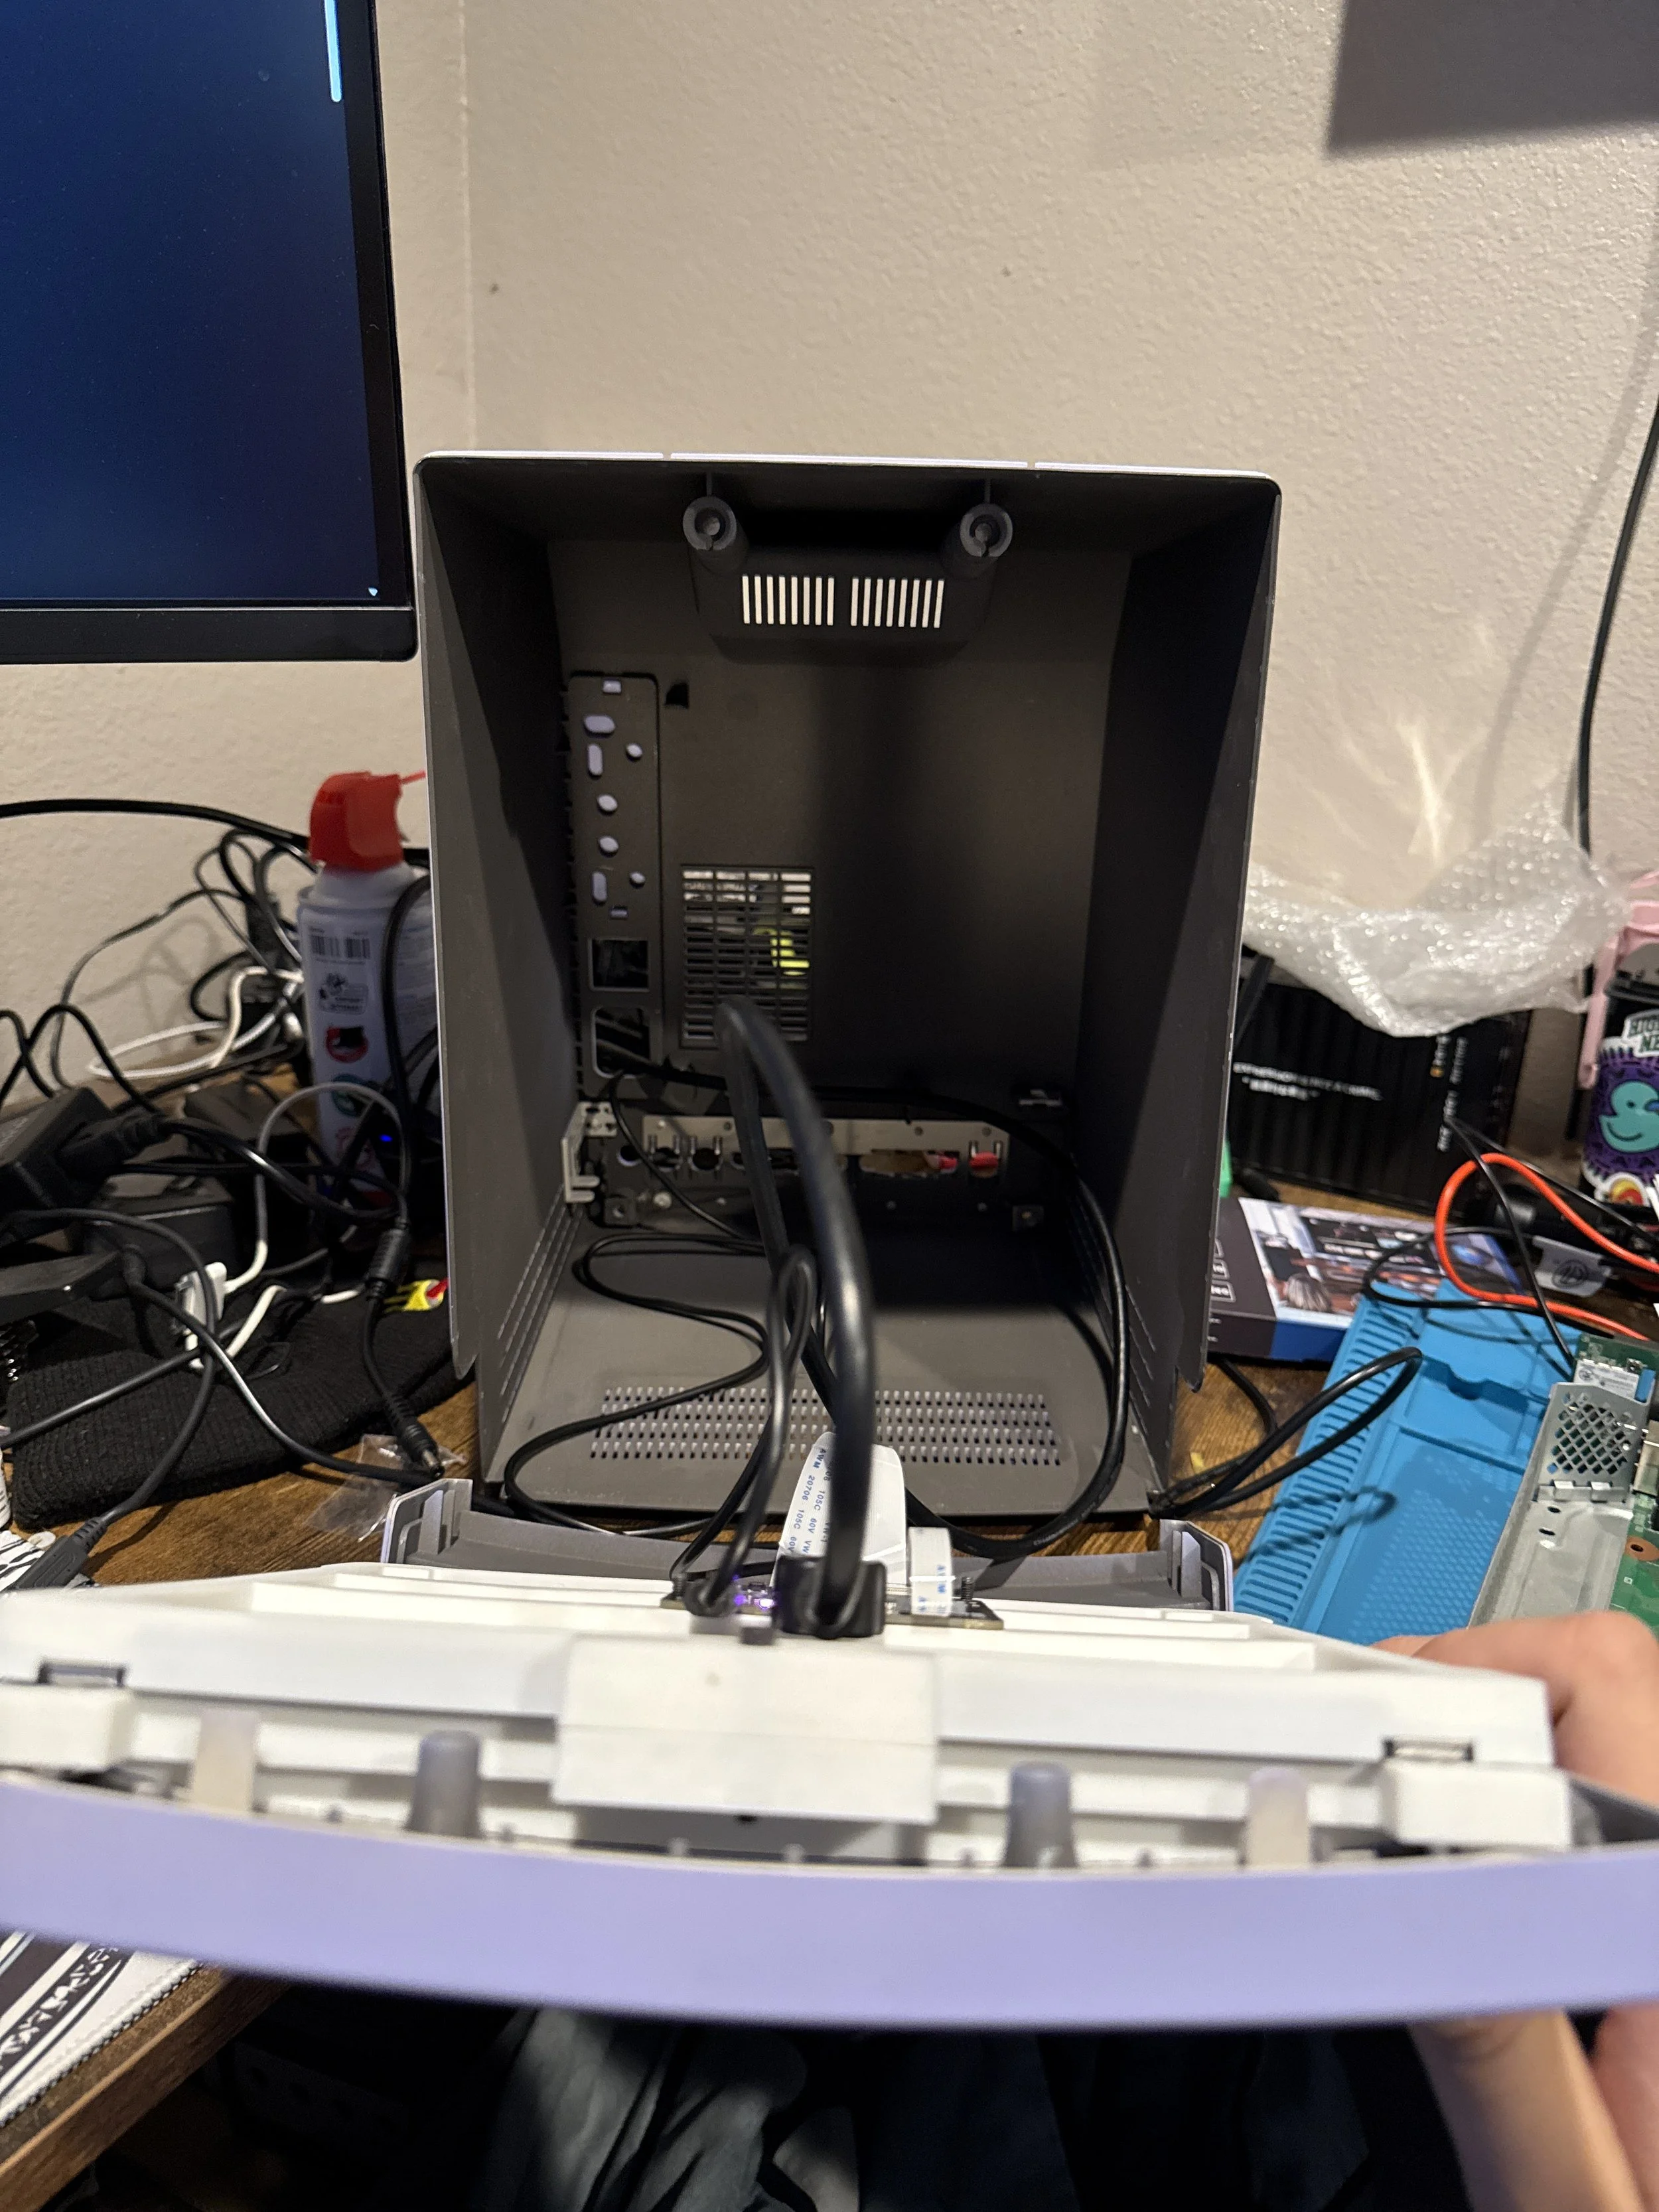
Anyway, after the case was sprayed and all of the funky nooks and crannies were properly attended to I got to mounting the white LCD bracket into the front half of the Mac shell, and used a soldering iron to melt some square nuts into the LCD frame to use as screw points for the LCD and its control board, with everything set and ready to go I connected the LCD to the control board and slapped the HDMI input and power connections into it, and just like that the project was done.